Restoring of the Light Tower
| < Beating the Chill | Δ Index | Official Opening > |
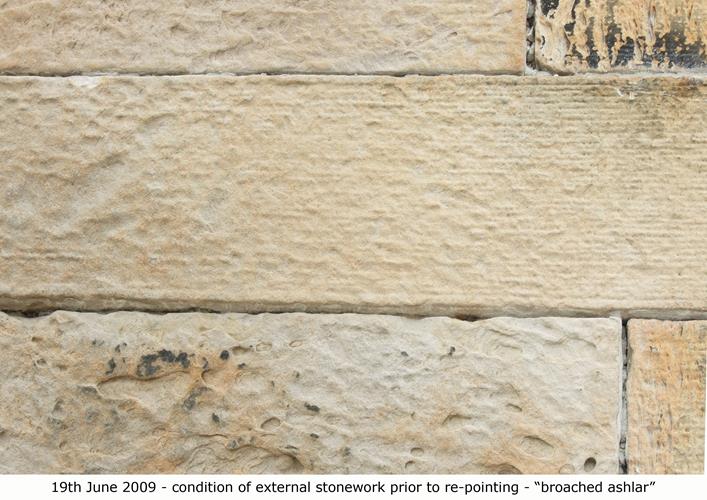
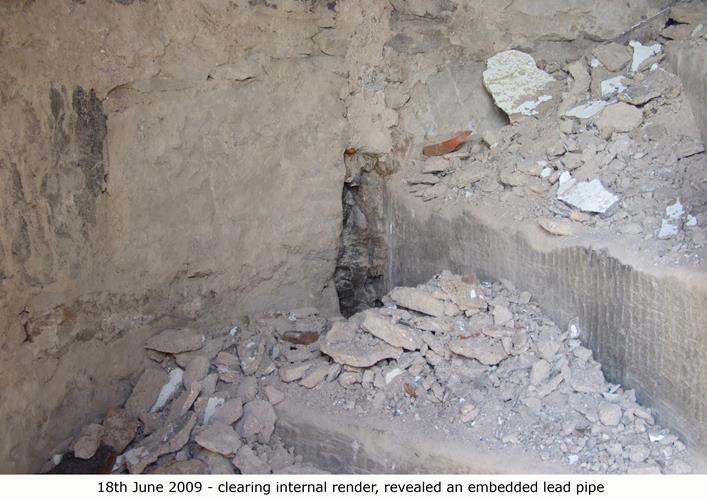
Although still in a fair state of repair considering its age and exposure to the elements, when North Queensferry Heritage Trust (NQHT) took on the restoration of the Light Tower, repairs to the external stonework were the first priority. Internally, the walls are finished with a lime wash and mortar which had to be totally renewed.
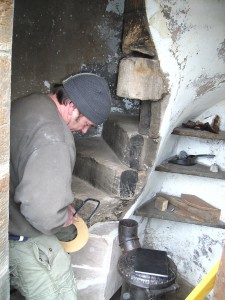
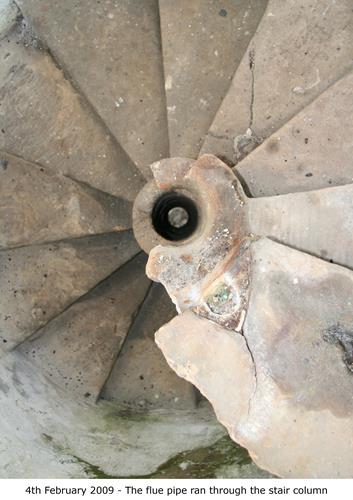
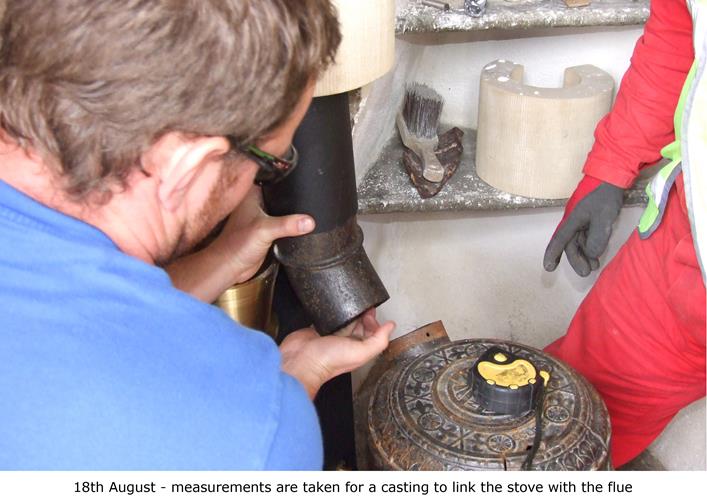
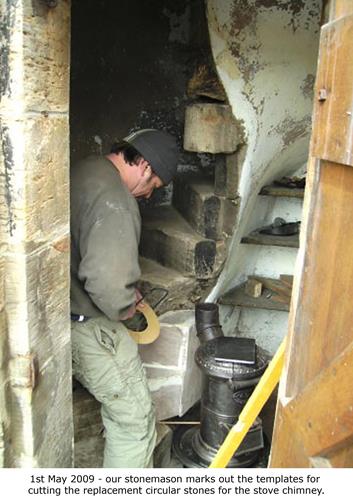
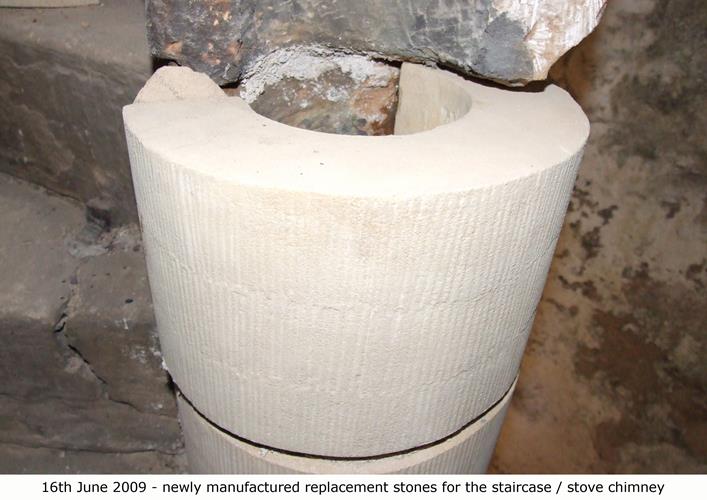
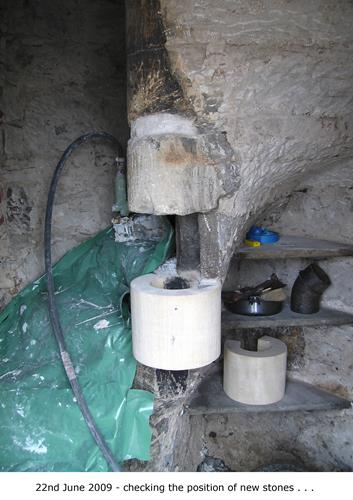
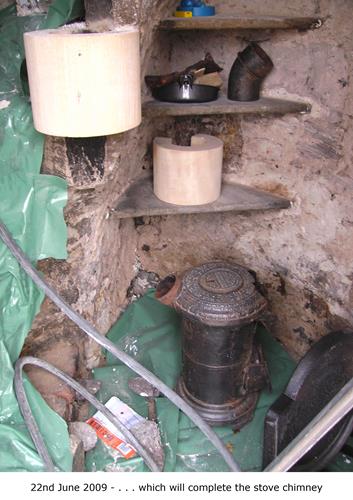
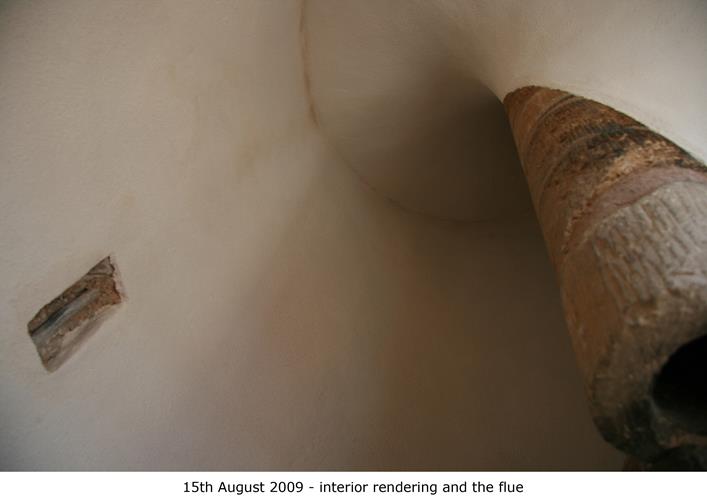
Some of the stones, which make up the internal flue from the stove were missing and had to be remade.
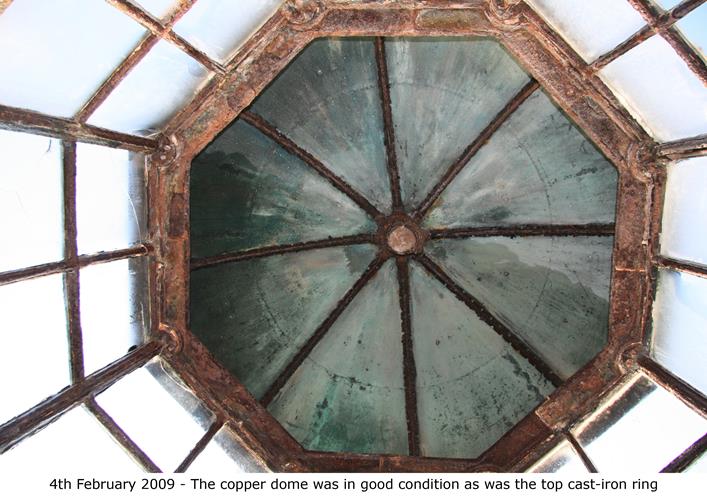
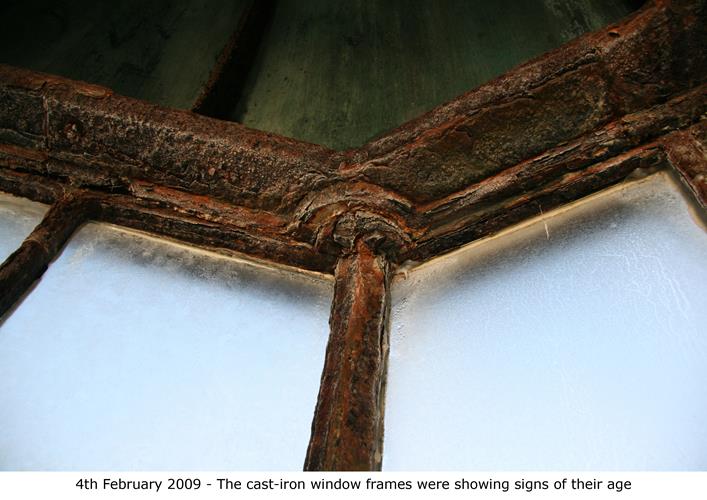
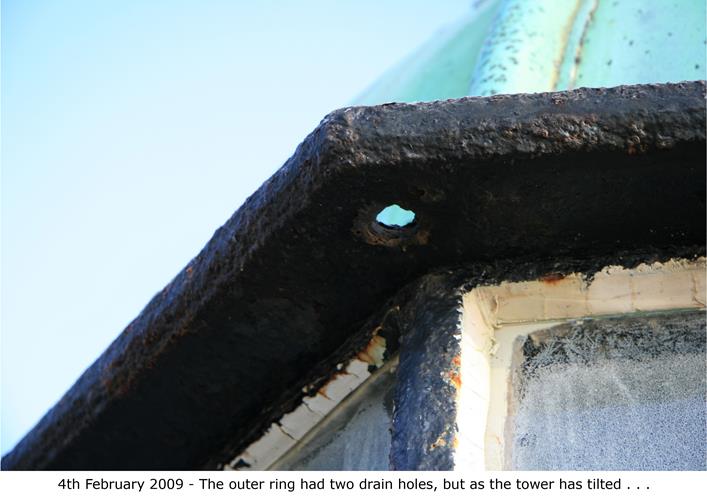
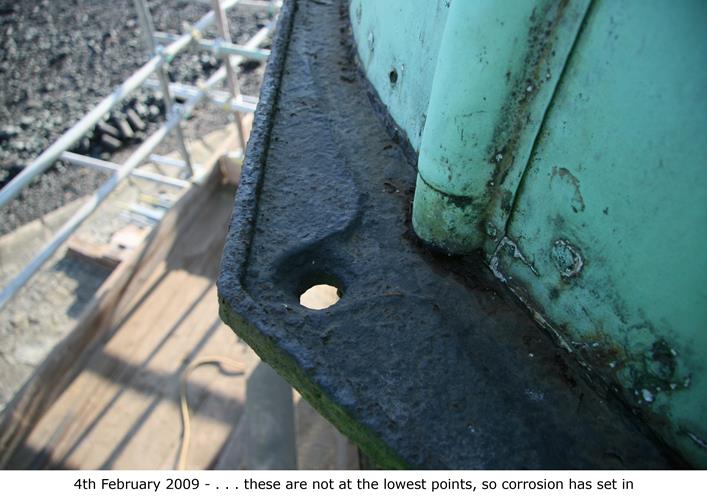
Two centuries of time, tides and the prevailing winds ensured that decay, to a greater or lesser extent, would almost certainly be present in the cast iron windows and the copper roof had suffered a degree of degradation.
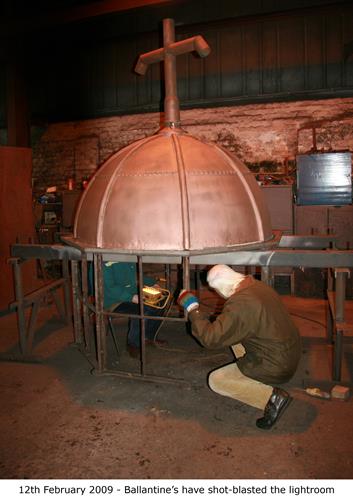
To reveal the true condition of the lightroom (the domed area on the top) it was removed to a local foundry for detailed testing.
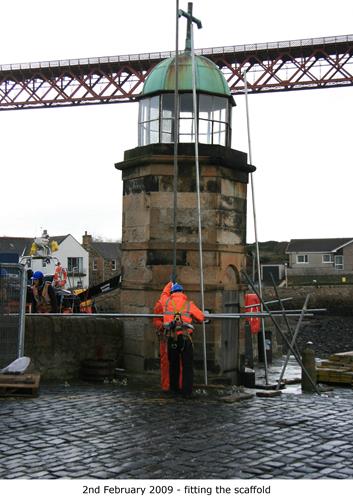
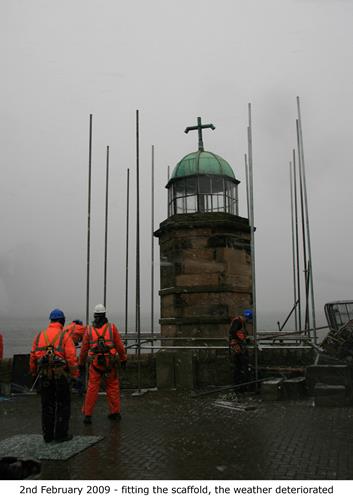
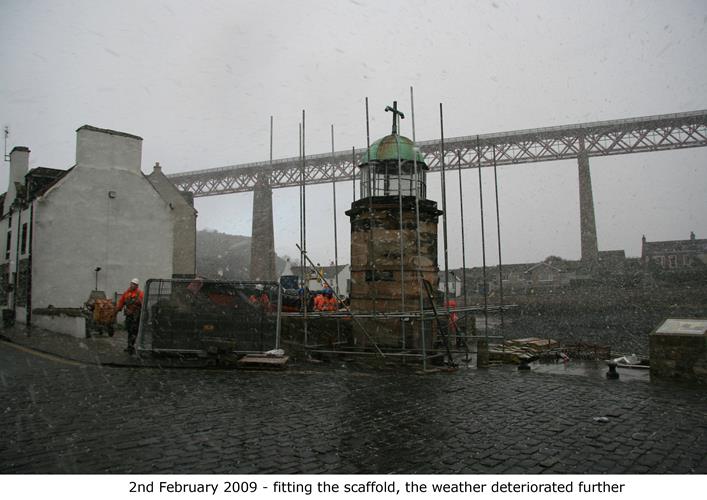
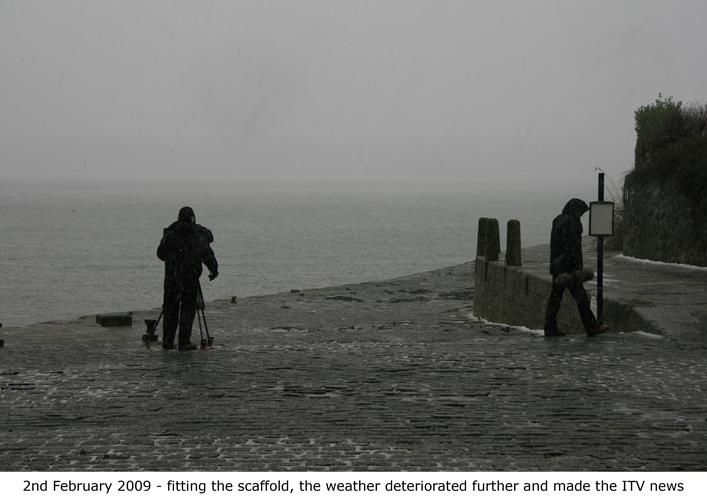
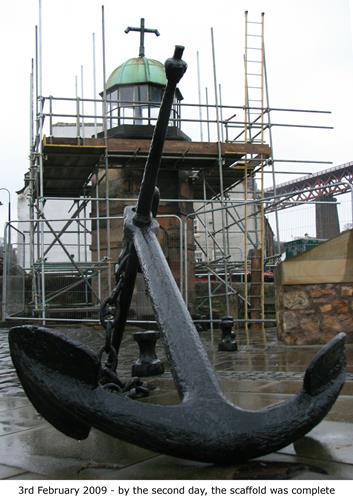
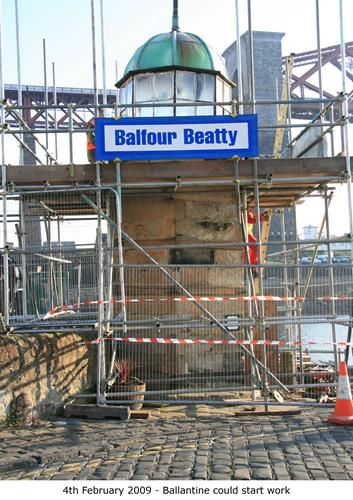
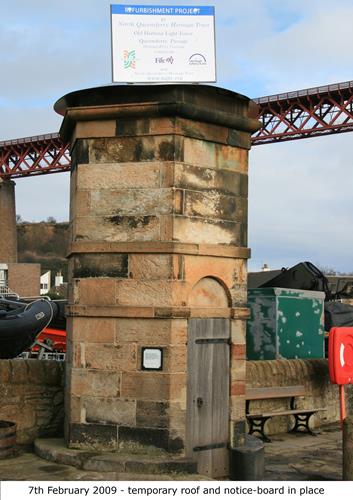
The 2nd of February 2009 saw the restoration project begin in earnest with the erection of all necessary scaffolding and working platforms.
On the 4th, the engineering contractor moved in to assess how best to remove the entire lightroom with one lift of the crane.
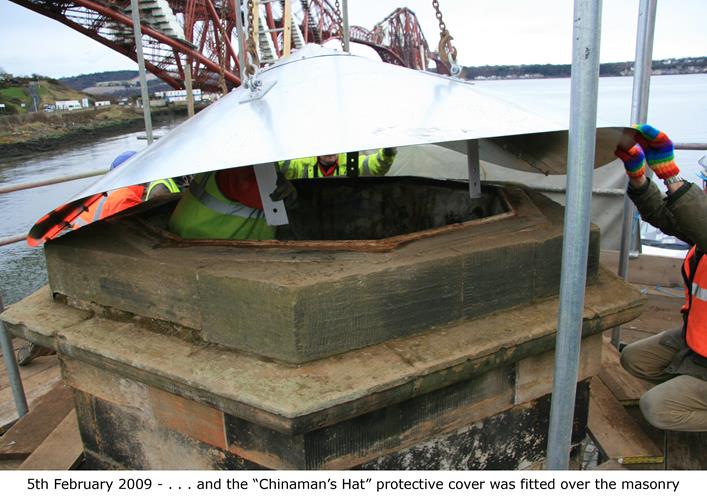
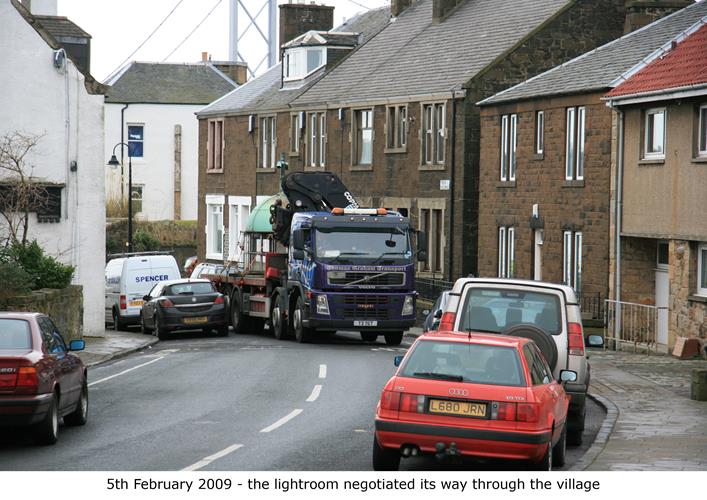
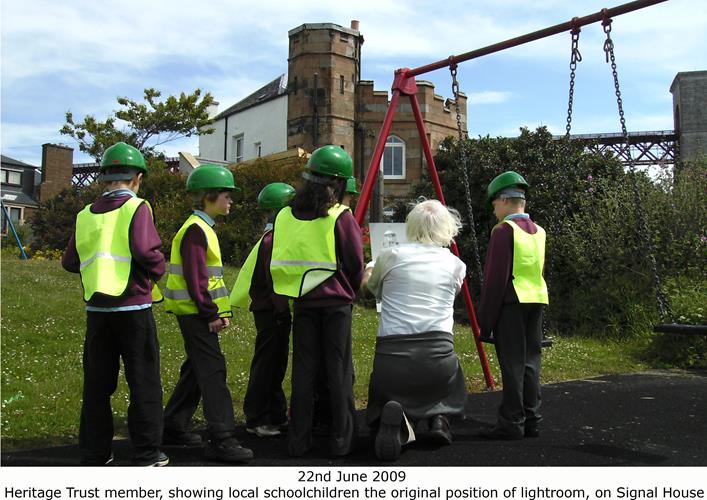
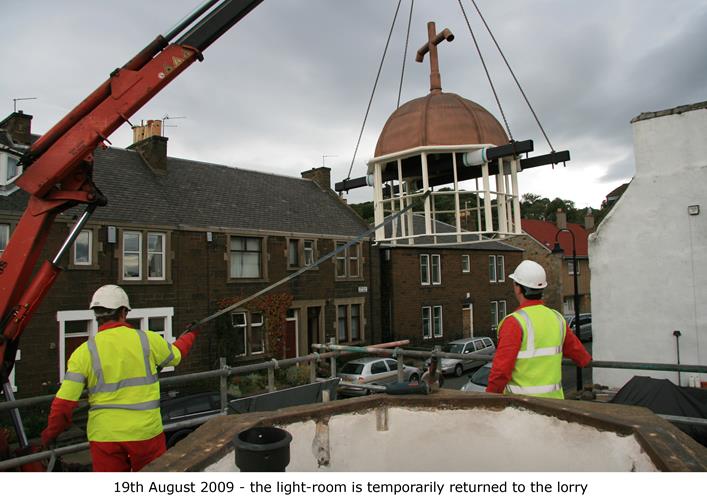
The lightroom was successfully released from the tower on 5th February 2009 in the presence of many onlookers and children from the local school.
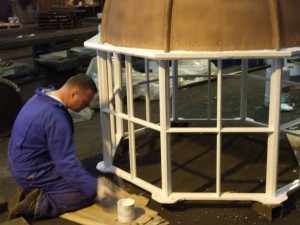
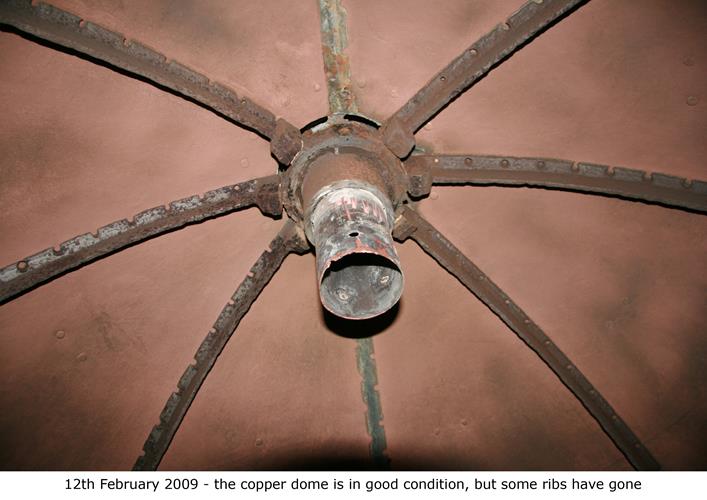
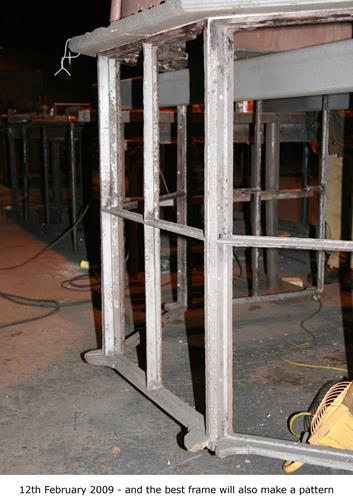
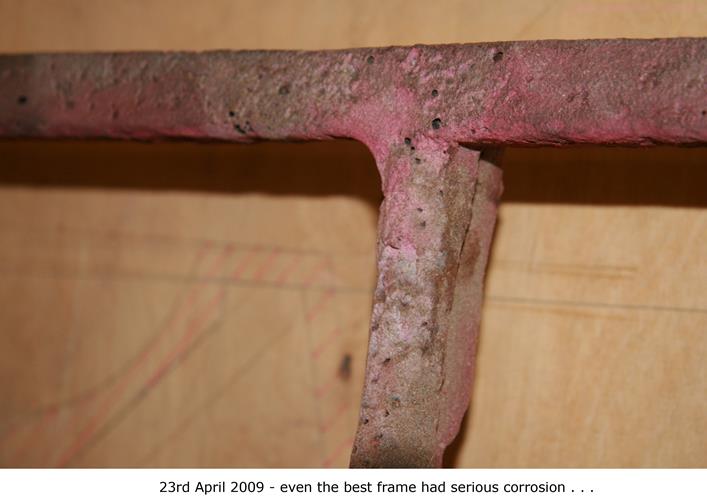
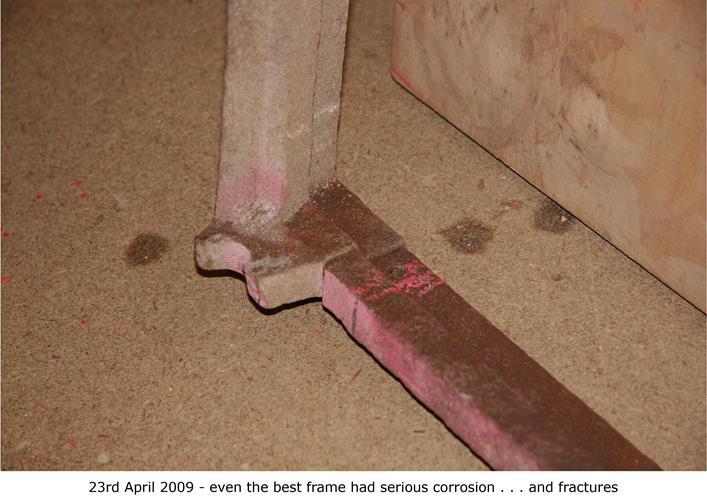
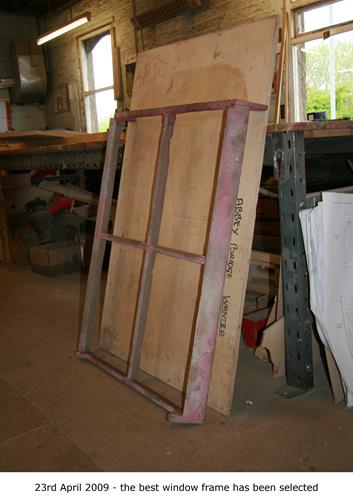
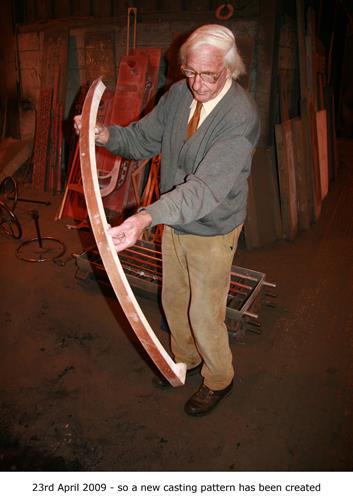
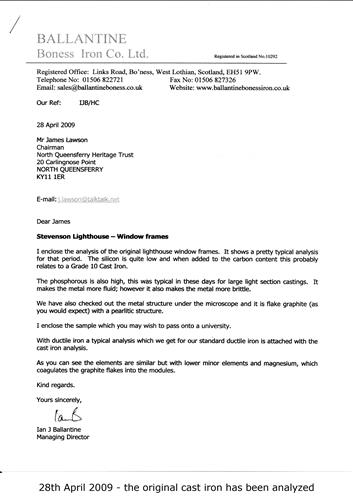
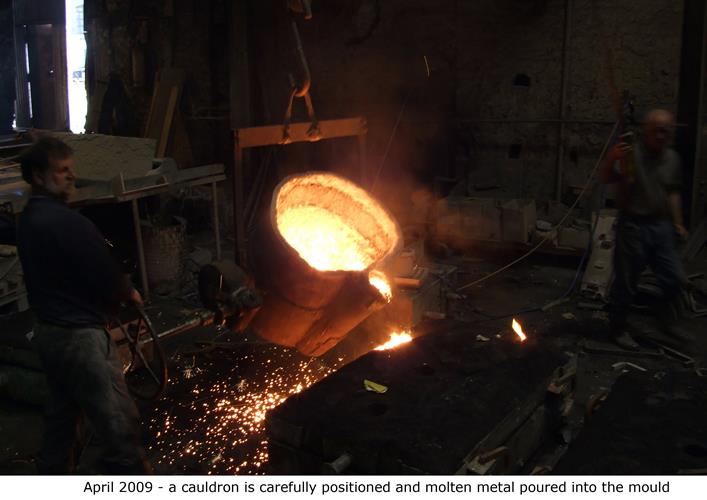
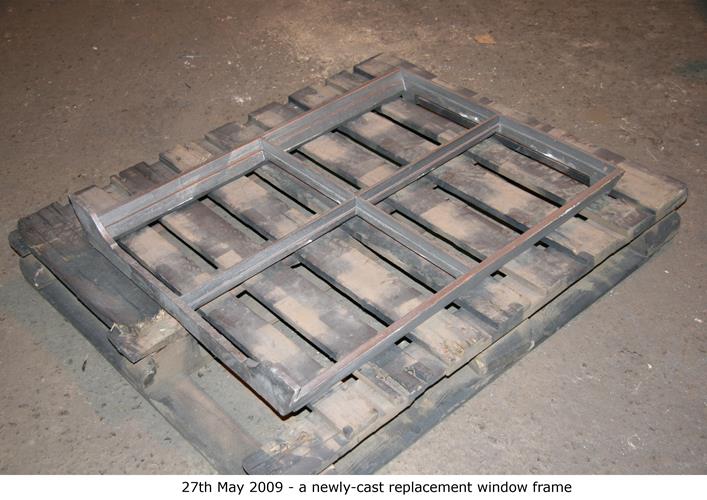
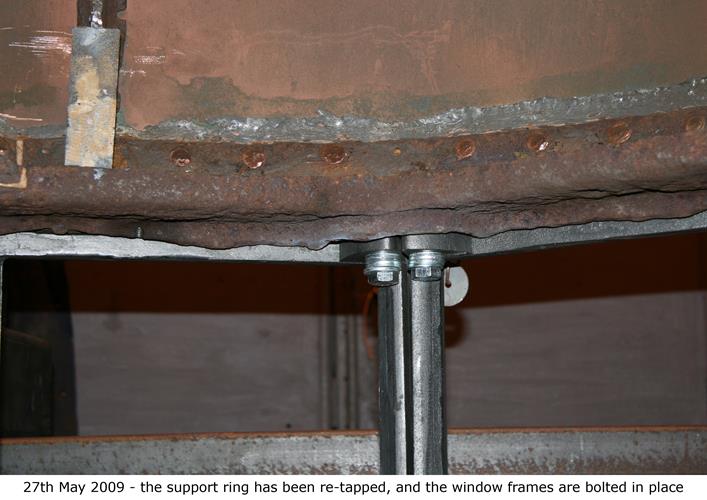
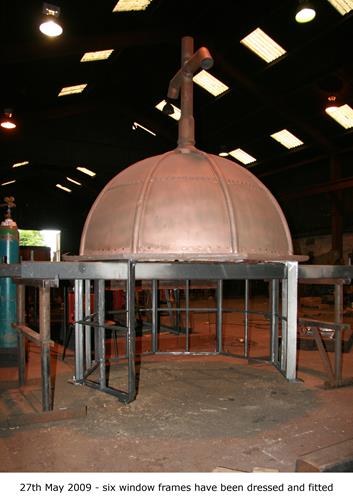
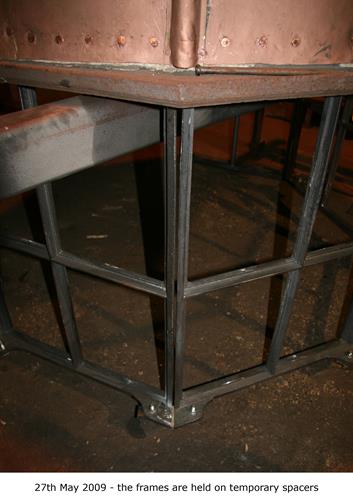
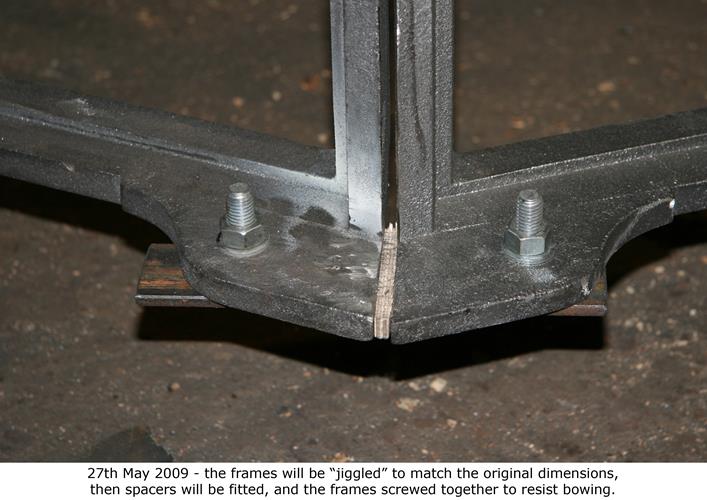
The cast iron supports and window frames of the light room showed considerable deterioration and were subsequently replaced using the only original window frame as a template.
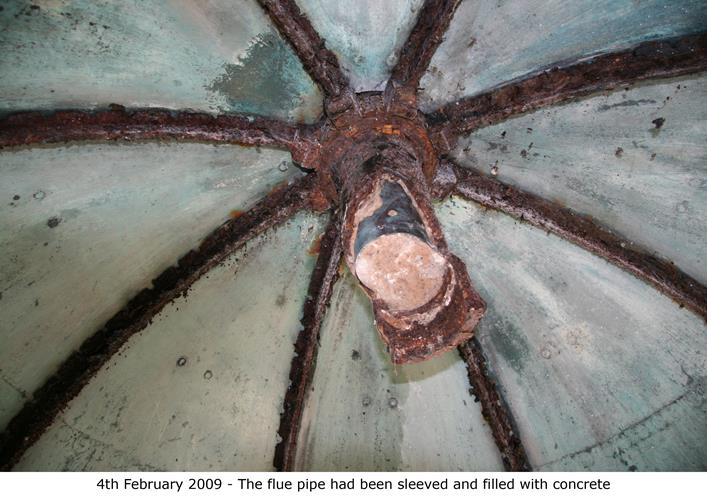
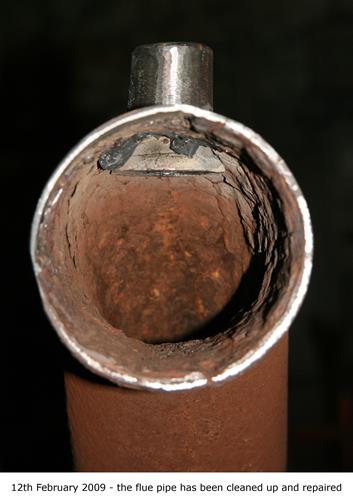
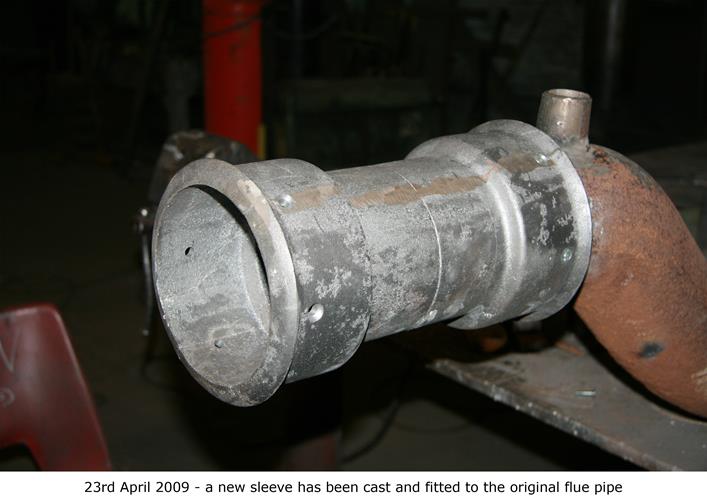
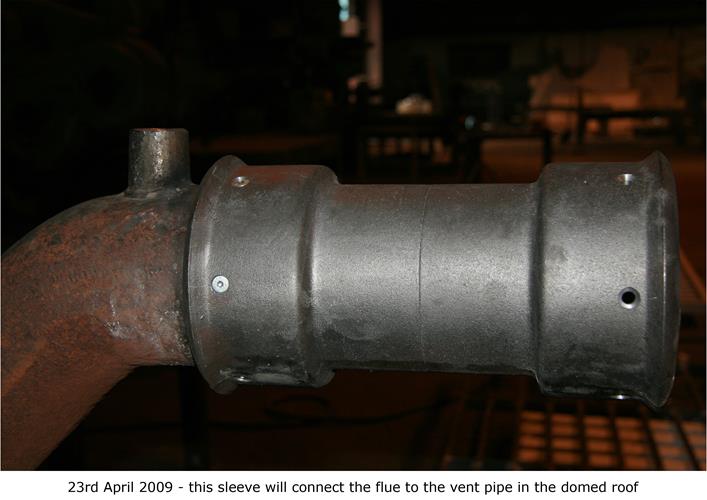
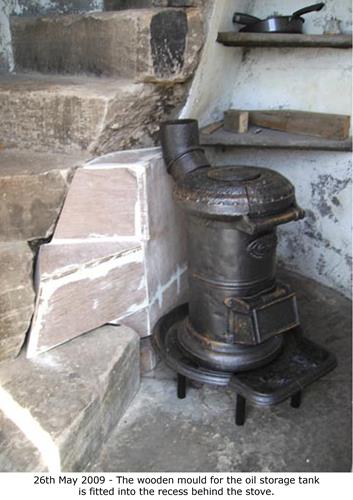
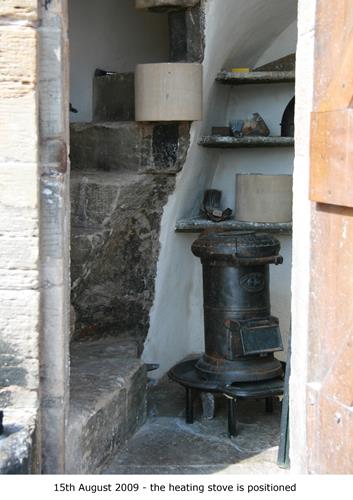
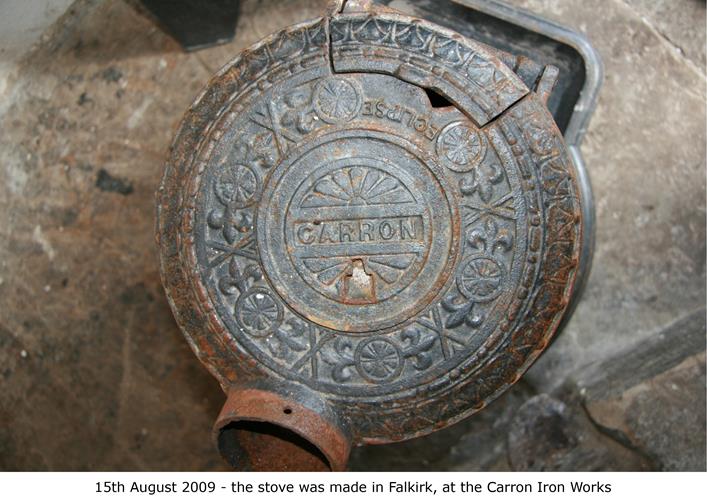
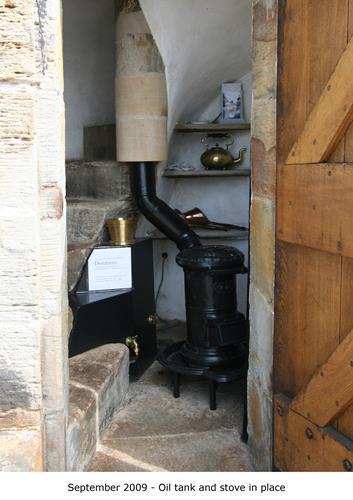
All the internal light fitments had been removed, many years ago, with the exception of the smoke tube which acted as a flue for the small pipe stove thereby ensuring proper extraction of hot gases from the light itself.
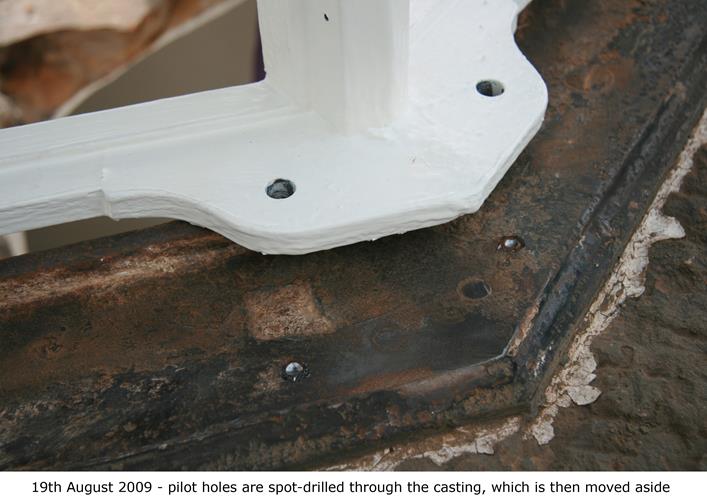
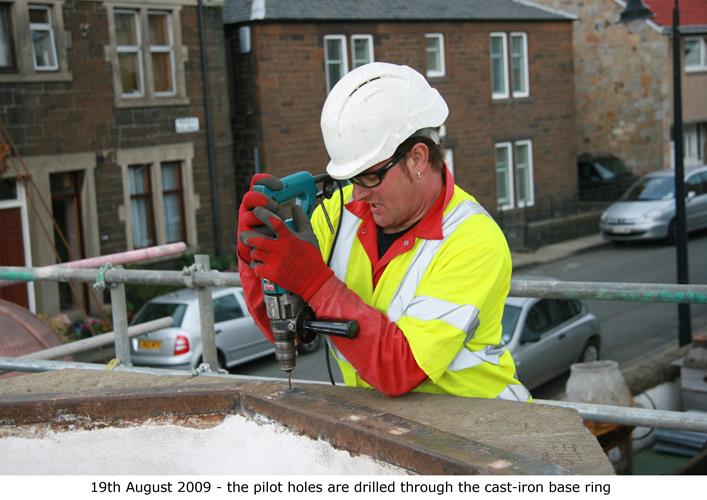
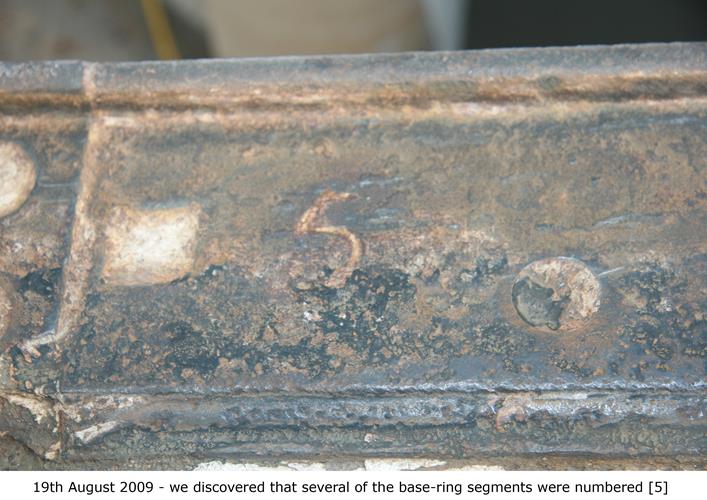
The lightroom was reinstated on the 19th August 2009 on top of the stone tower which in the interim period had been externally re-mortared and internally some of the missing stonework was remade and replaced.
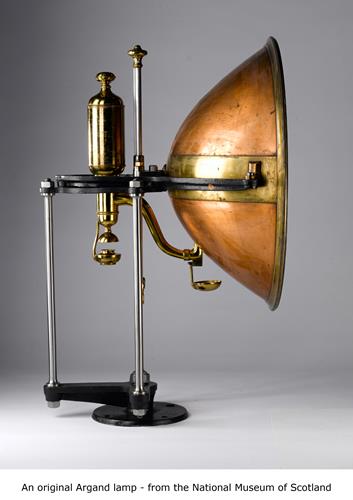
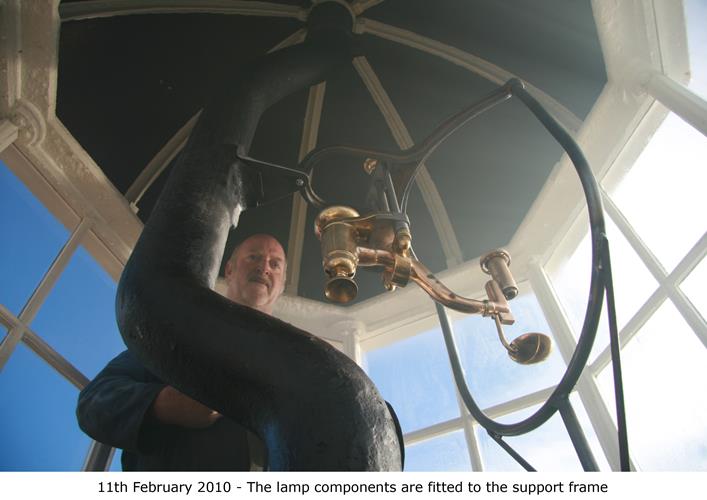
With the tower restored, the Heritage Trust installed a replica light copied from an original held by the National Museum of Scotland.
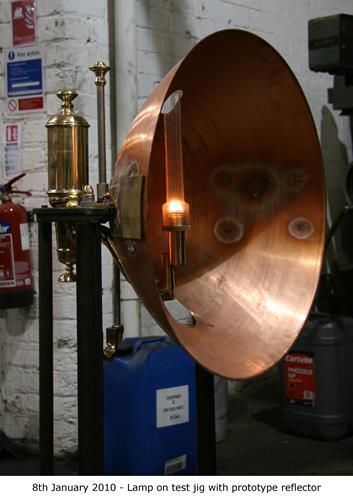
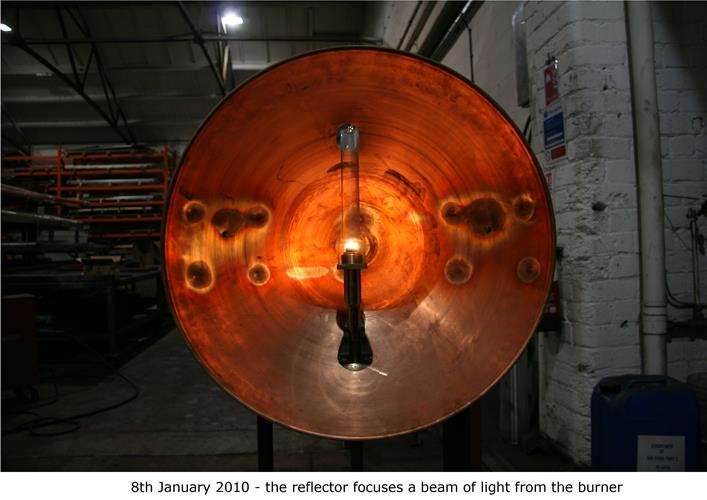
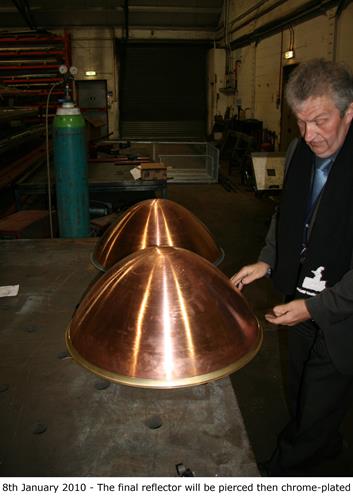
The original Argand lamp, complete with 21 inch diameter parabolic reflector, was adopted by Stevenson, using whale oil as its fuel source. By 1812, this style of light was already installed at Inchkeith and Bellrock lighthouses.
North Queensferry Heritage Trust is grateful for the work of:
Balfour Beatty, who provided and erected the vital scaffolding;
A L Gordon, engineers located in Falkirk: they replicated the lighting system as near as possible to Robert Stevenson’s design;
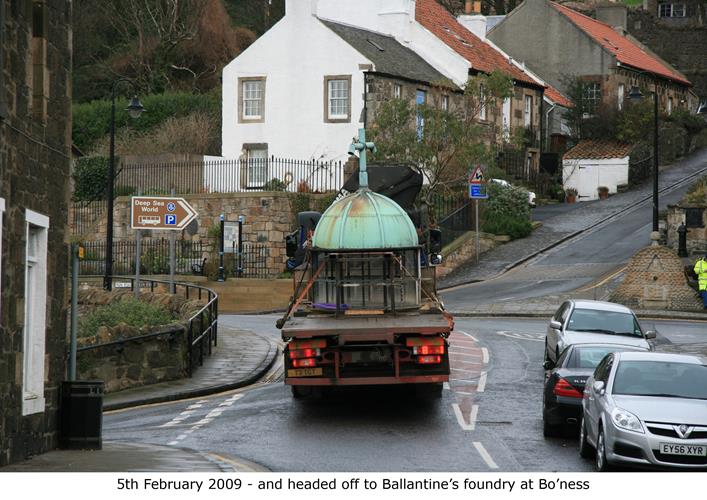
Ballantine Boness Iron Co Ltd: the company took the lightroom from the top of the tower and carried out the refurbishment programme over a six month period.
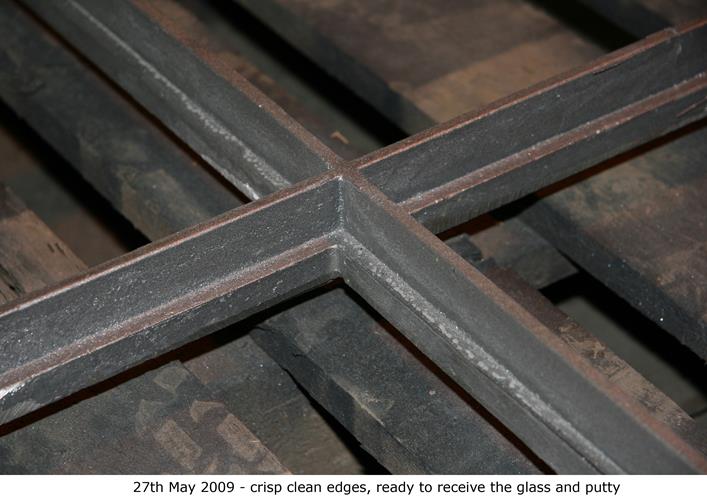
This included remaking all the cast iron windows from the only remaining original window, repainting and re-installing to ensure a perfect fit;
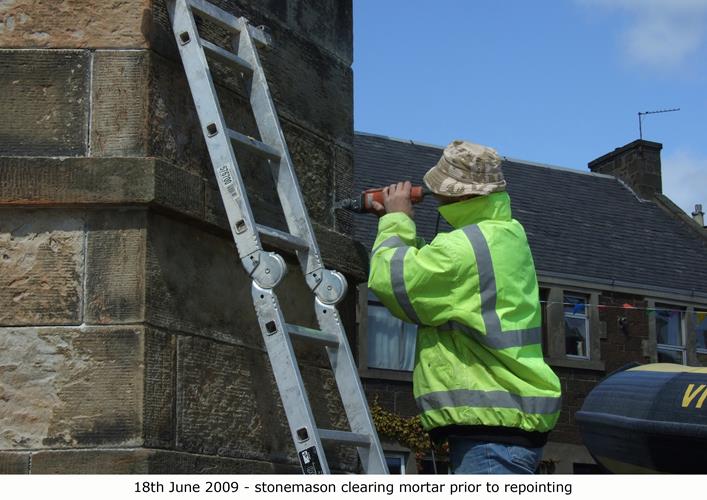
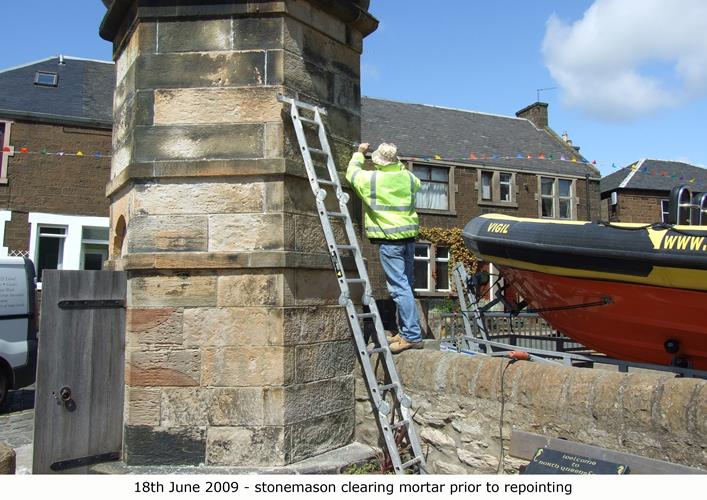
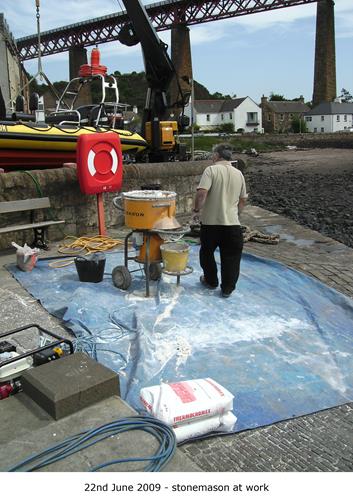
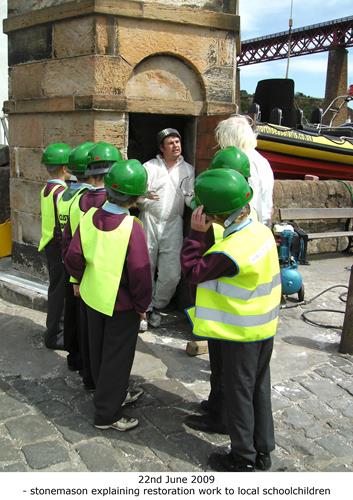
and Graeme Brown: highly experienced stone mason who completely repointed the sandstone tower externally and remade parts of the stone flue system internally, as well as remortaring the walls as authentically as possible.
Without their skills, this project would not have been possible.
top of page
Restoration Photo Diary
The restoration work broke down into a number of stages:
1. Erecting scaffolding round the light-tower
2. Removing the light-room
3. Assessing the condition of the metalwork
4. Making new Castings
5. Rebuilding the light-room
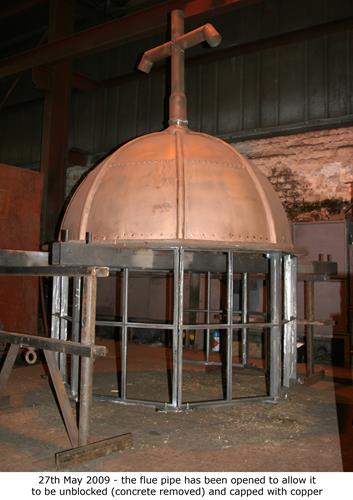
6. The flue pipe
7. The stove and oil tank
8. Stonework refurbishment
9. Re-erecting the scaffolding
10. Replacing the light-room
11. Re-glazing the light-room
12. Removing the scaffolding to reveal the finished item
13. Creating a replica Argand Lamp
14. Installing the Lamp
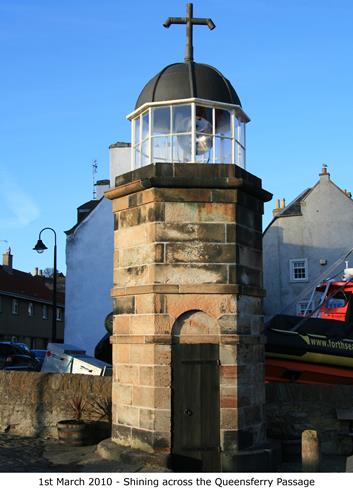
15. Success – shining across the Queensferry Passage
We photographed each stage of what was a complex process and a fascinating experience. You can follow tehhe sequence below.
Stage 1 Erecting scaffolding round the light-tower
In February 2009, scaffolding was erected by Balfour Beattie.
(Hover your mouse over a thumbnail to see the full size image)

Stage 2a Removing the light-room
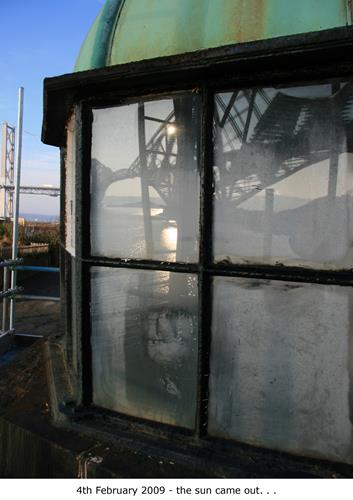
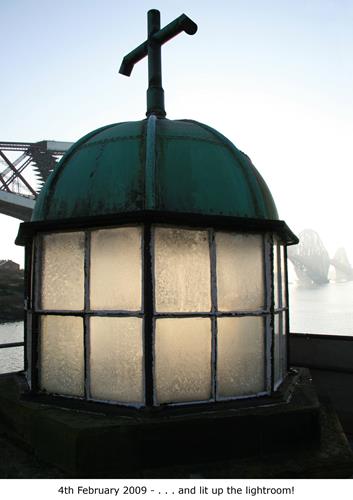
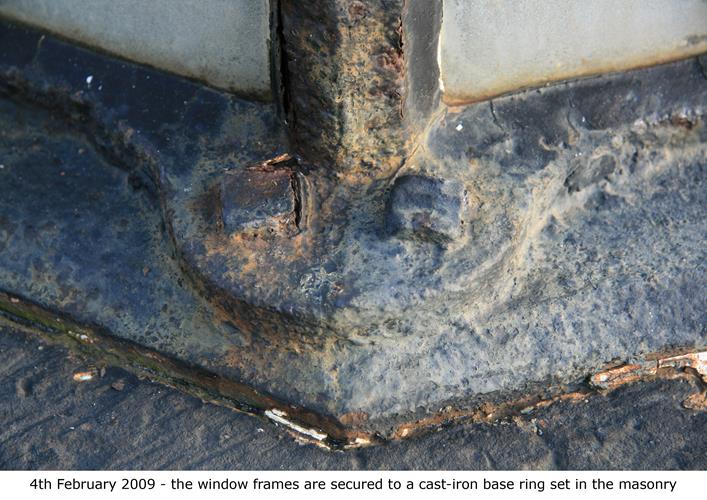
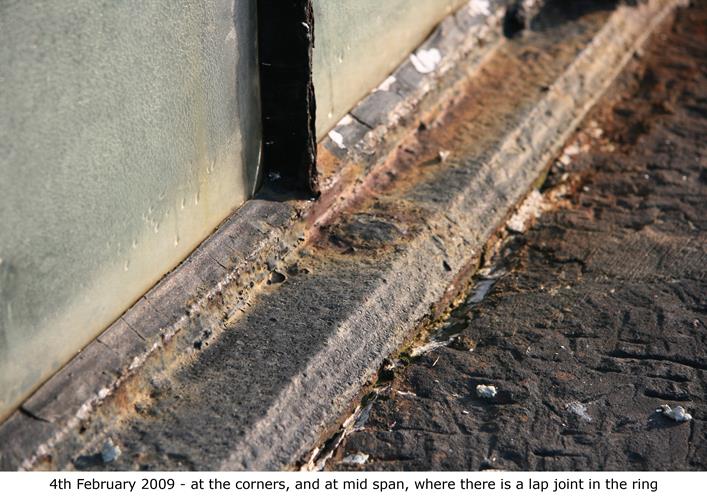
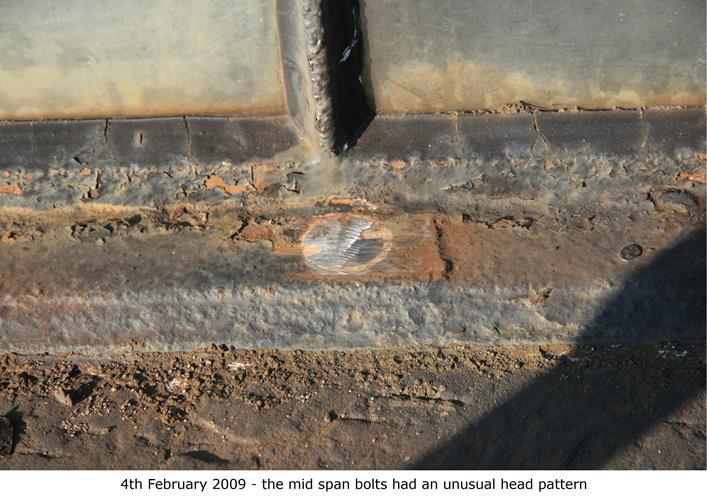
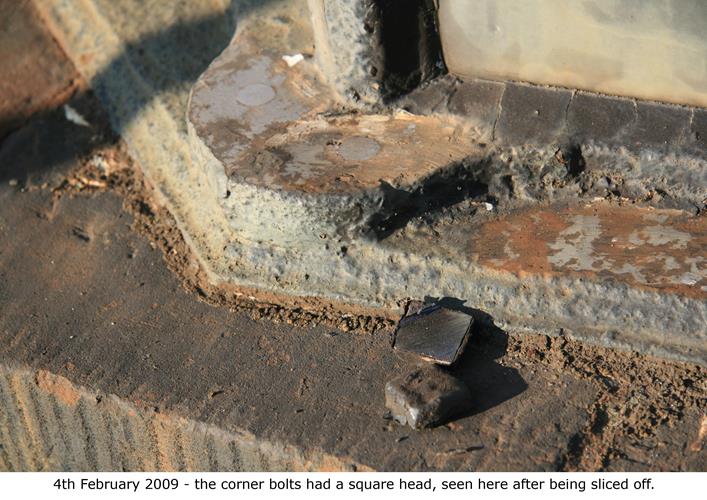
In February 2009, Ballantines detached the light-room from the tower, and took it to their workshop in Bo’ness.
(Hover your mouse over a thumbnail to see the full size image)

Stage 2b Removing the light-room
In February 2009, Ballantines detached the light-room from the tower, and took it to their workshop in Bo’ness.
(Hover your mouse over a thumbnail to see the full size image)
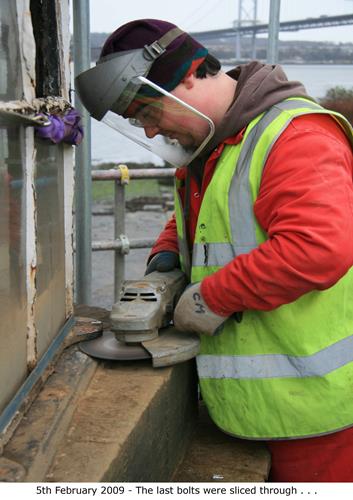
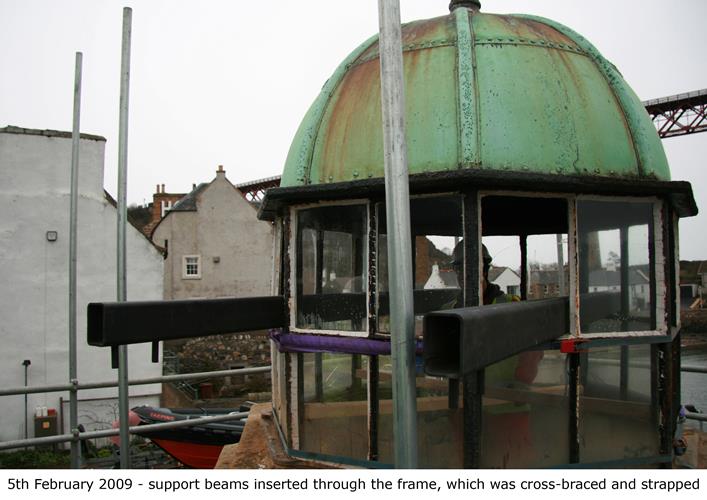
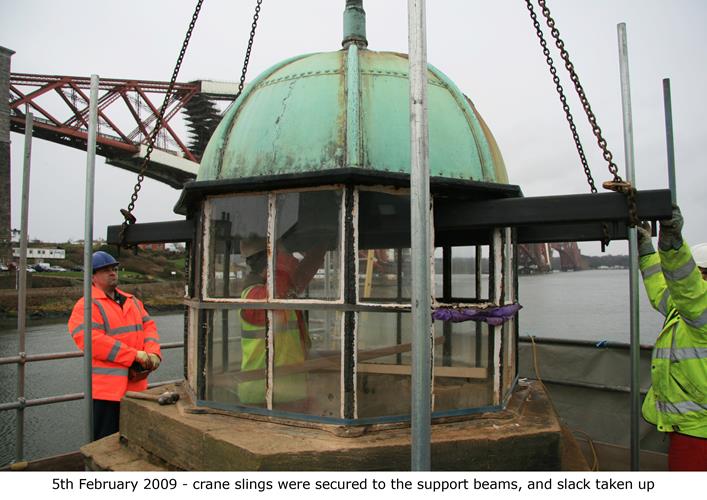
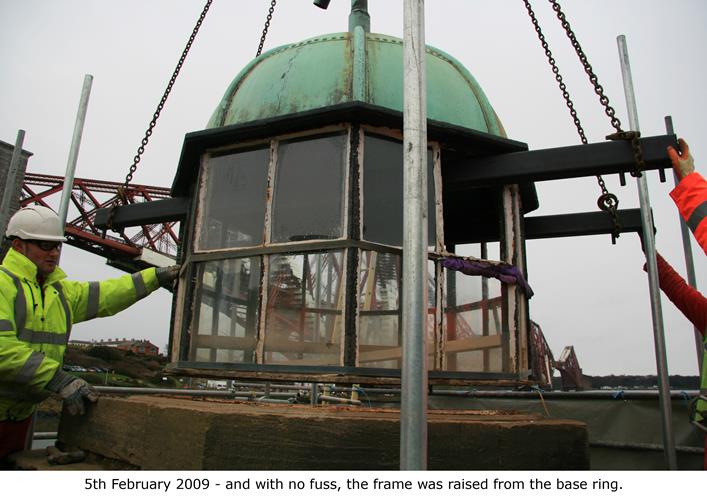
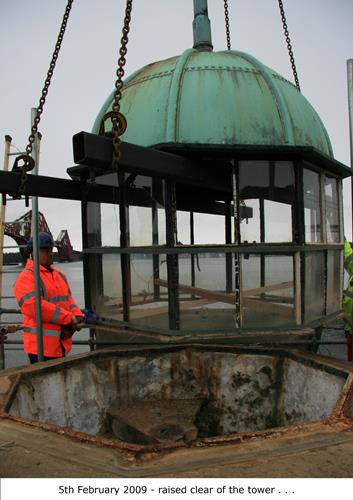
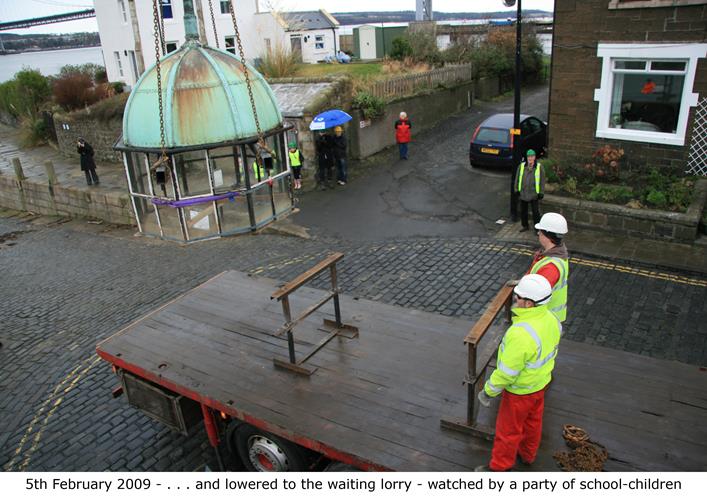
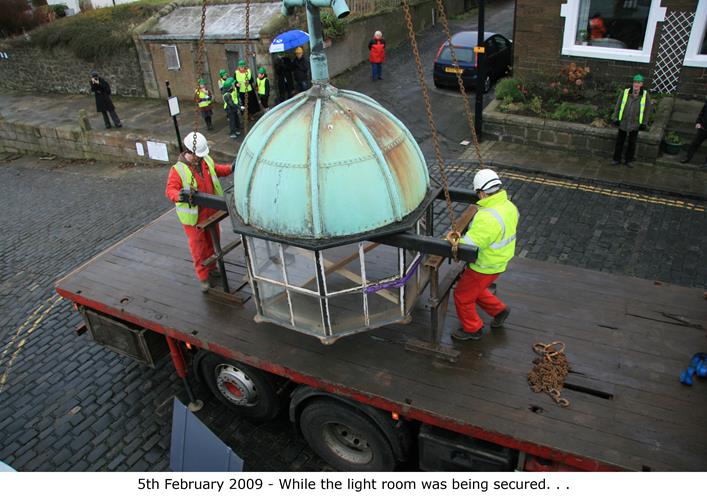

Stage 2c Removing the light-room
In February 2009, Ballantines detached the light-room from the tower, and took it to their workshop in Bo’ness.
(Hover your mouse over a thumbnail to see the full size image)
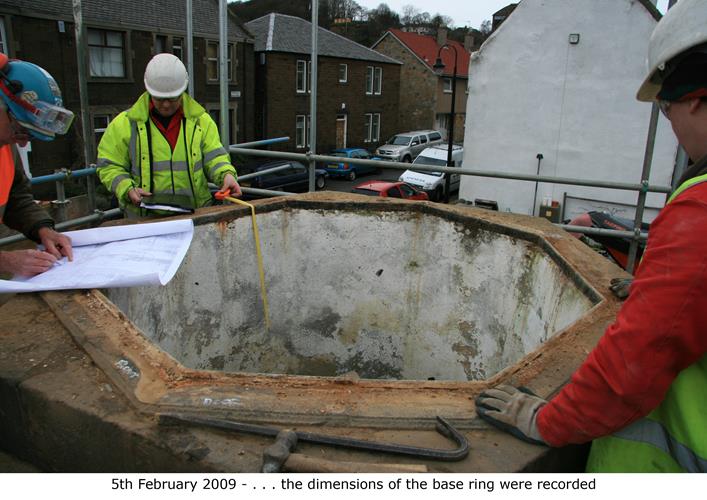

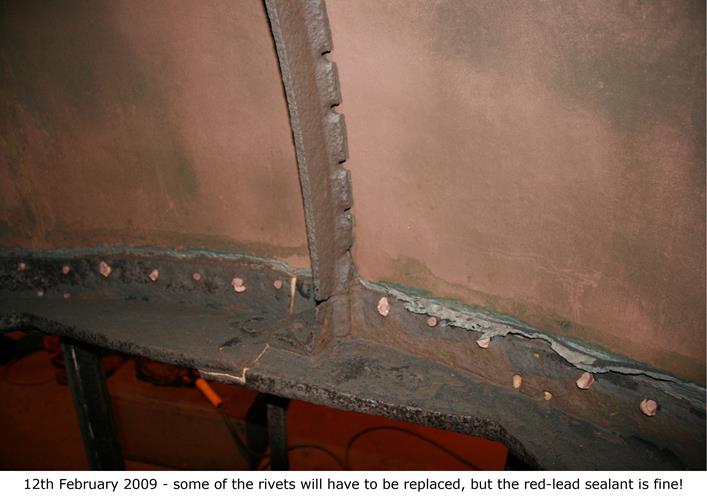
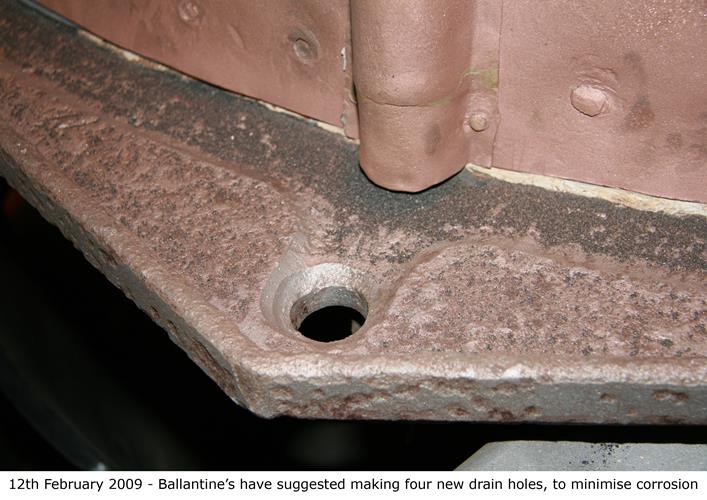
Stage 3 Assessing the condition of the metalwork
In the workshop the metalwork was examined in detail, to determine what repairs were needed.
(Hover your mouse over a thumbnail to see the full size image)
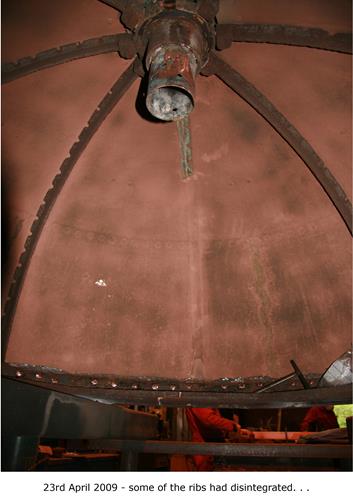
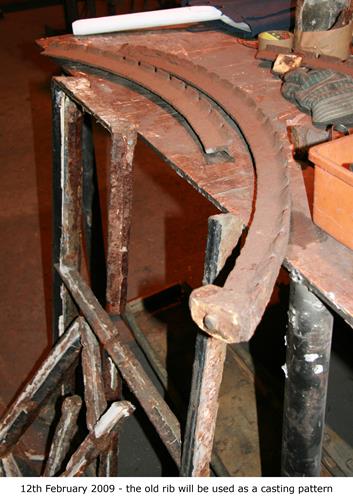

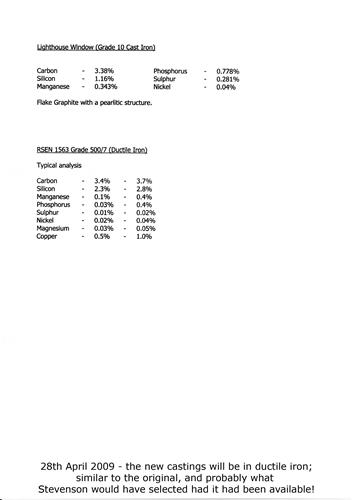
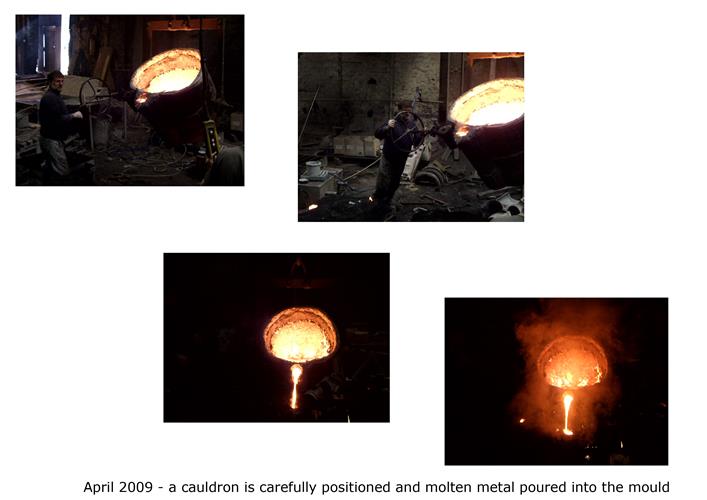
Stage 4 Making new Castings from ductile cast iron
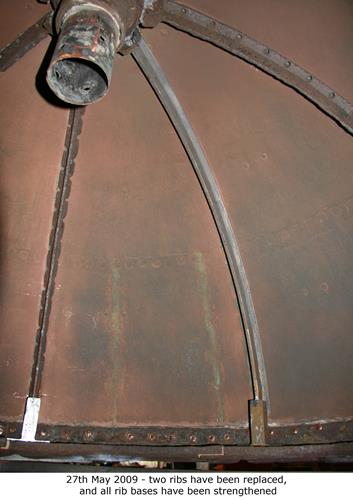
All eight of the window frames, and two of the roof ribs had to be replaced.
(Hover your mouse over a thumbnail to see the full size image)
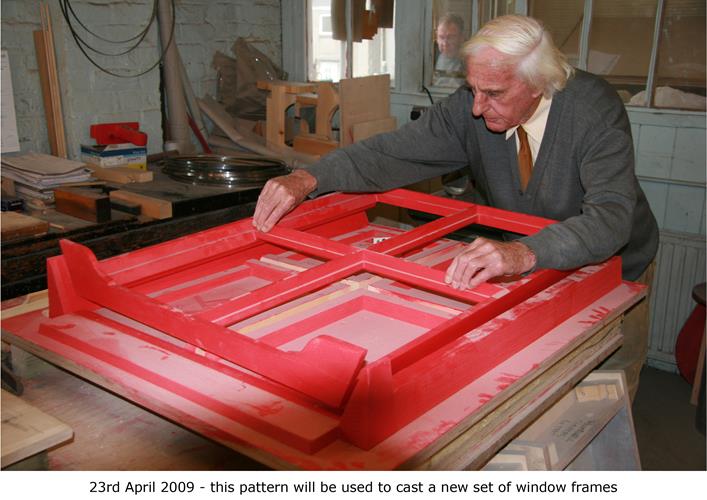
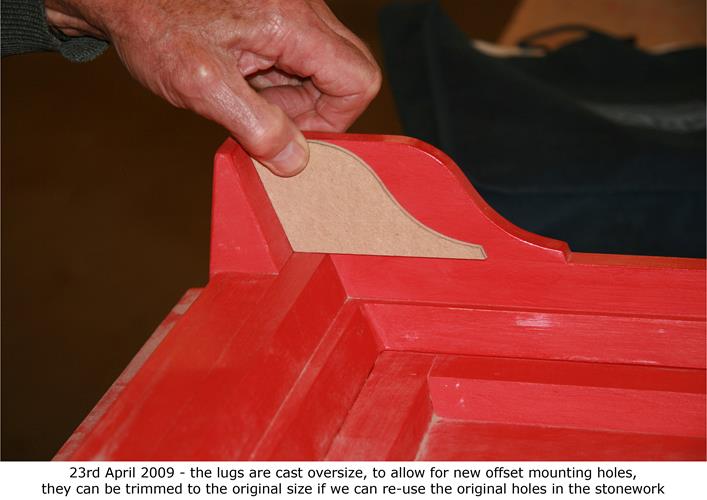

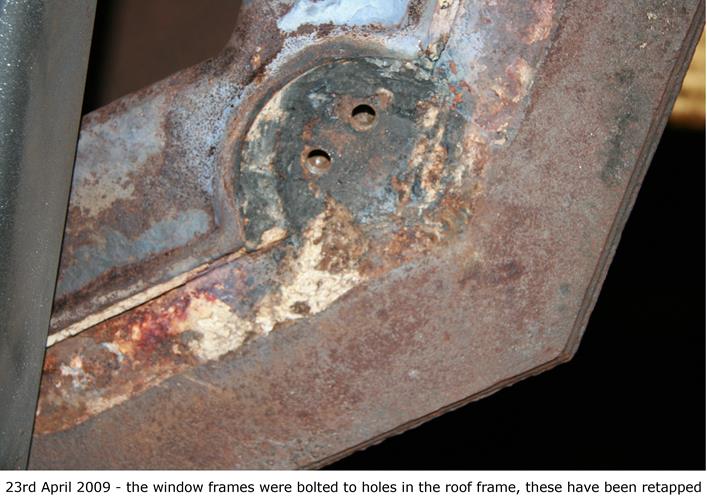
Stage 5a Rebuilding the light-room
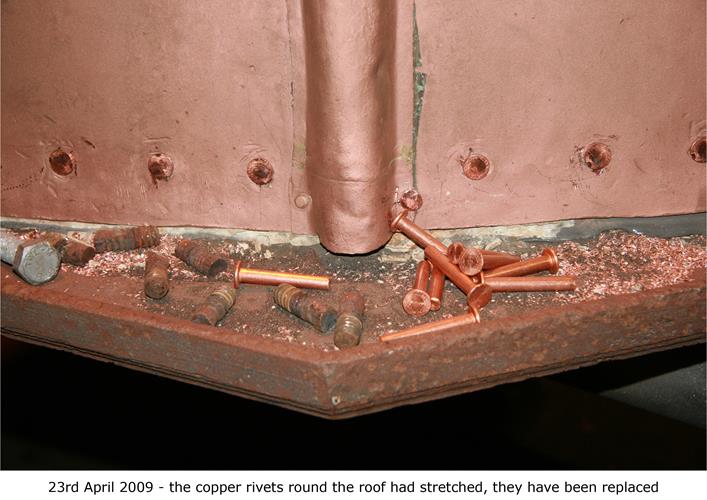
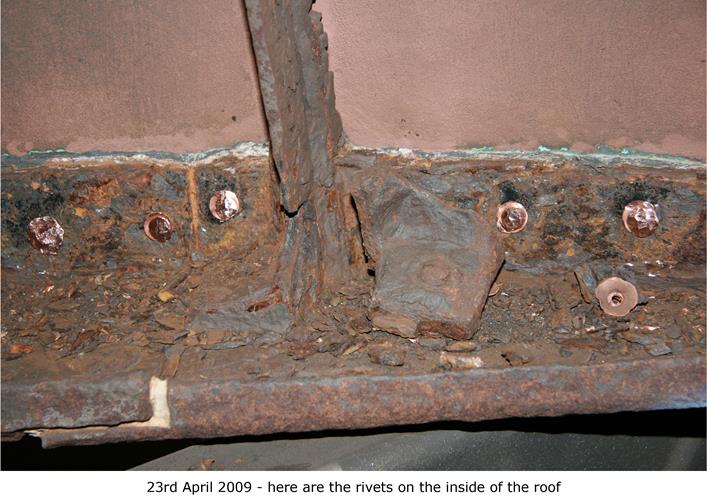
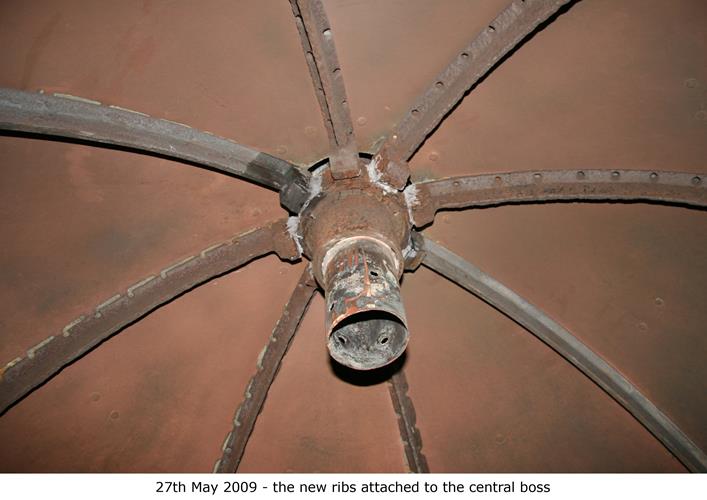
The new ribs were fitted to the roof, which was then attached to the new window frames. . .
(Hover your mouse over a thumbnail to see the full size image)

Stage 5b Rebuilding the light-room
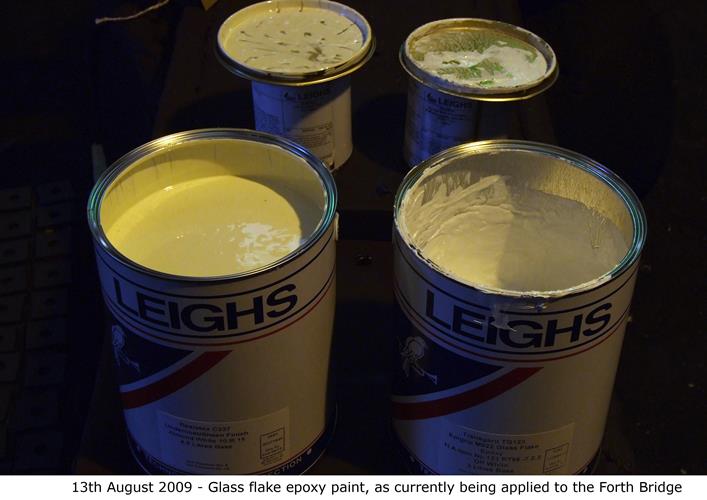
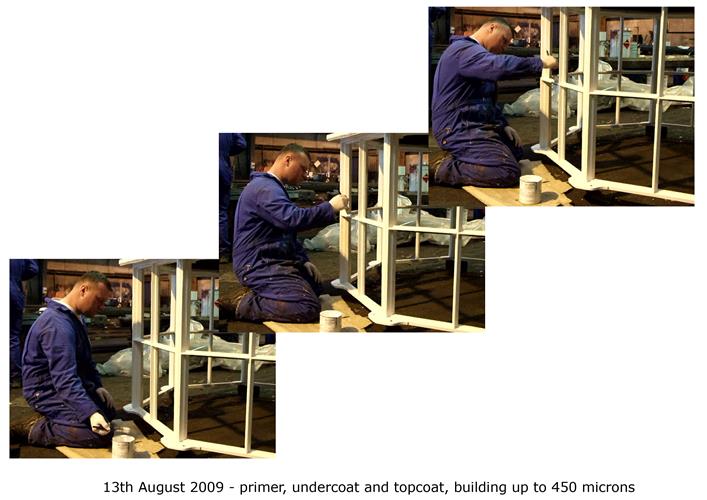
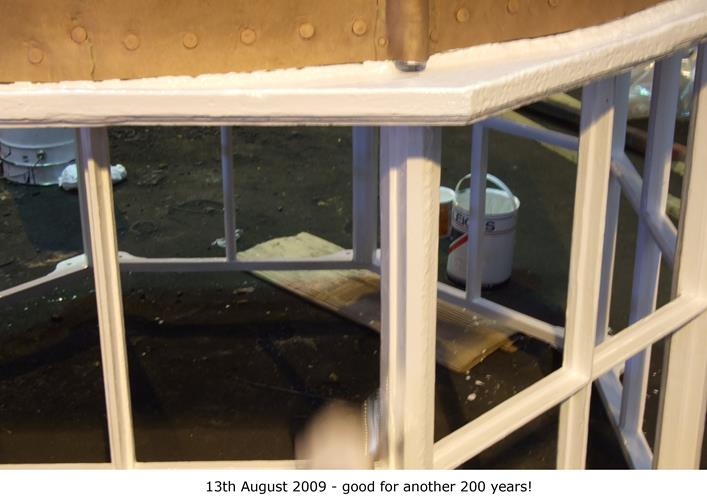
. . . and all of the cast iron was coated with a modern epoxy paint.
(Hover your mouse over a thumbnail to see the full size image)

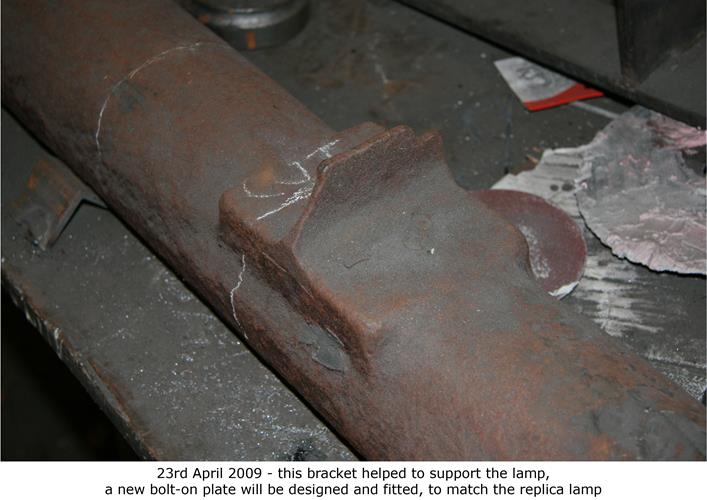
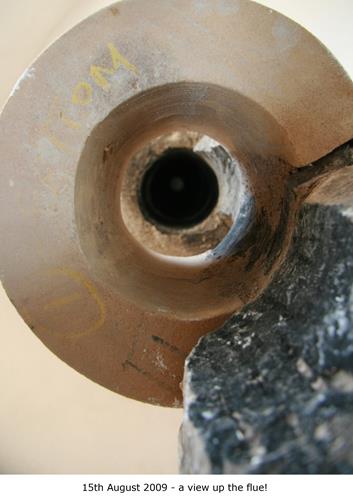
Stage 6 Repairing the flue pipe
The flue pipe was broken, and had been filled with concrete!
(Hover your mouse over a thumbnail to see the full size image)

Stage 7 A new stove and oil storage tank
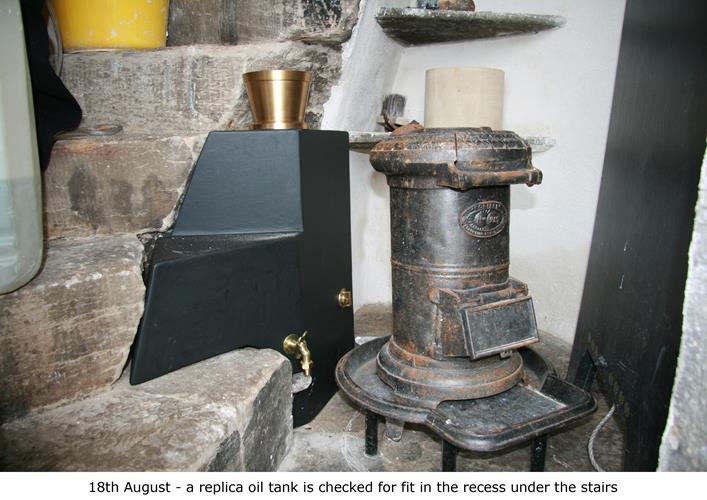
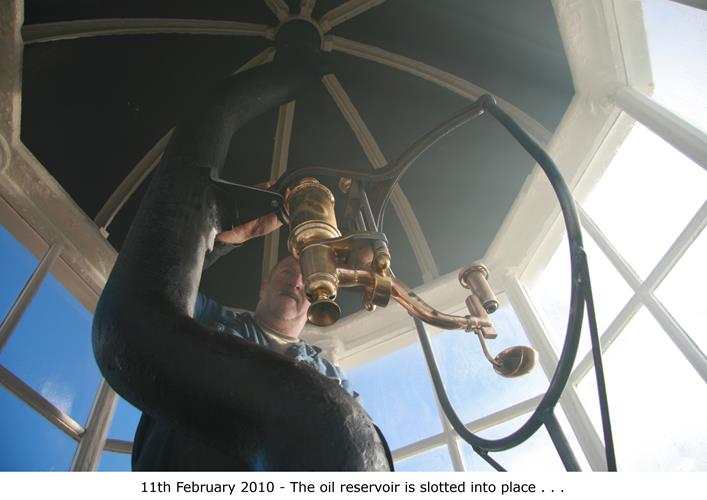
The ground floor of the light tower had a custom-fitted whale-oil storage tank. A small stove kept the oil warm to stop it becoming viscous; heat from the stove travelled up the flue pipe to warm the light-room, keeping the glass free of condensation.
(Hover your mouse over a thumbnail to see the full size image)

Stage 8a Stonework refurbishment
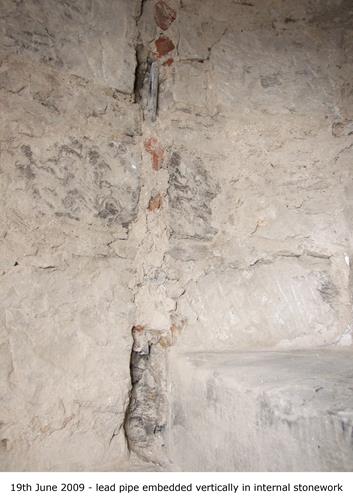
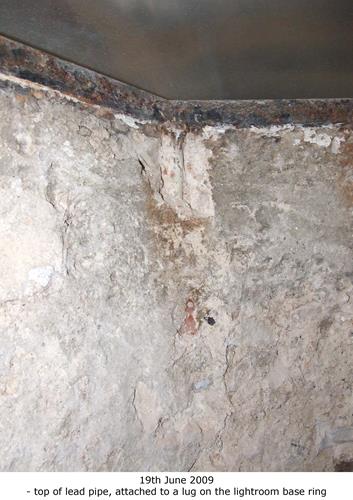
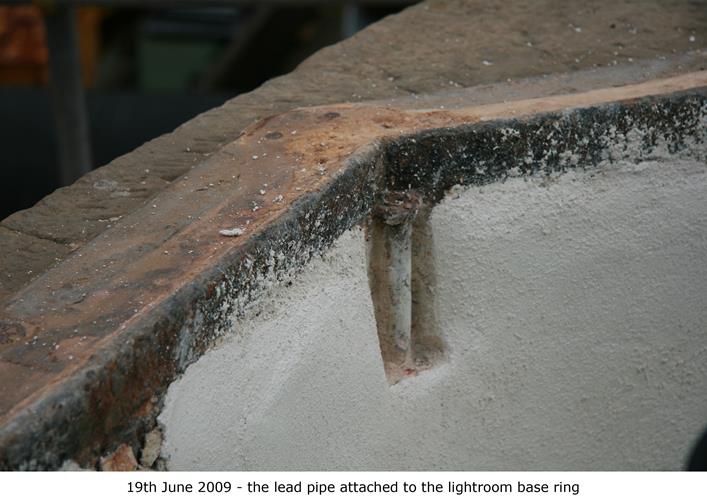
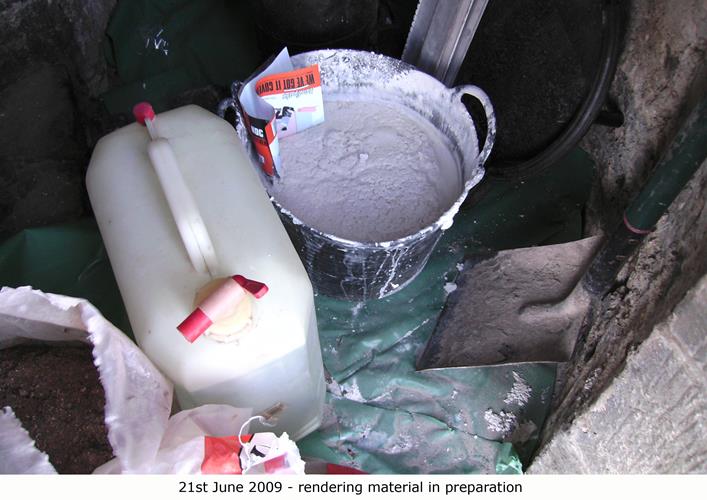
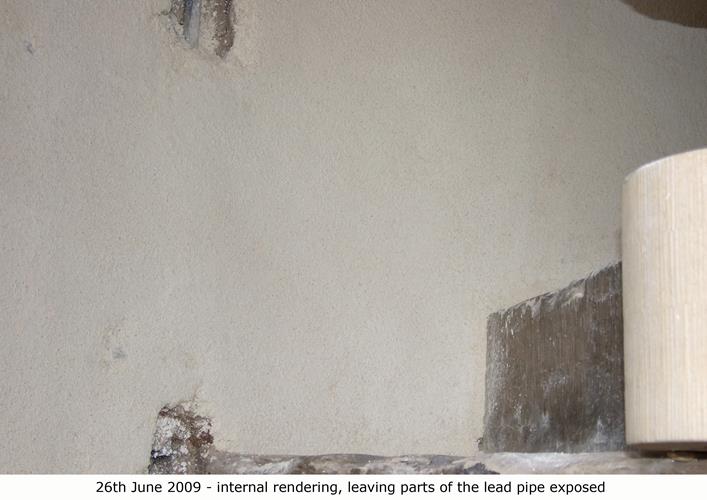
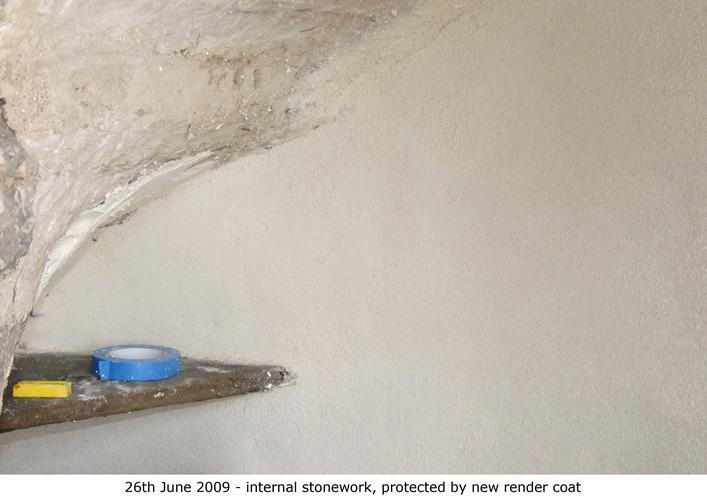
The external stonework was completely repointed. Internally new parts had to be be created to restore the flue system which cleverly forms the central pillar of the spiral staircase. The internal surfaces were finally rendered with lime mortar.
(Hover your mouse over a thumbnail to see the full size image)

Stage 8b Stonework refurbishment
The external stonework was completely repointed. Internally new parts had to be be created to restore the flue system which cleverly forms the central pillar of the spiral staircase. The internal surfaces were finally rendered with lime mortar.
(Hover your mouse over a thumbnail to see the full size image)

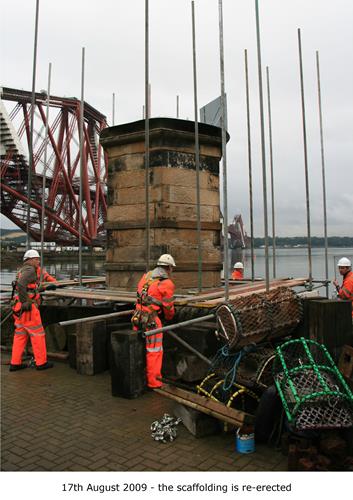
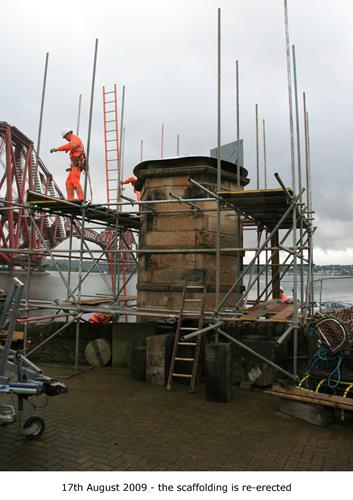
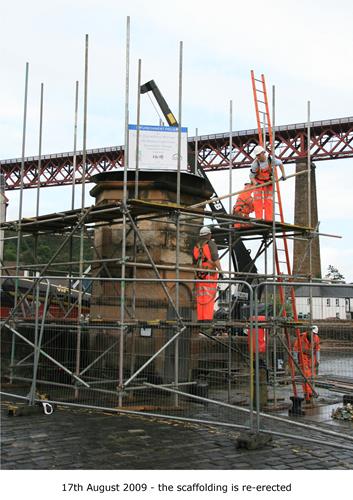
Stage 9 Re-erecting scaffolding round the light-tower
In August 2009, the scaffolding was re-erected by Balfour Beattie, in preparation for the return of the light-room.
(Hover your mouse over a thumbnail to see the full size image)
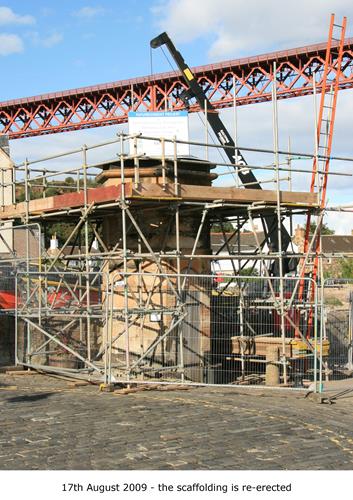

Stage 10a Replacing the light-tower
By August 2009, the tower was ready to receive the refurbished light-room.
(Hover your mouse over a thumbnail to see the full size image)
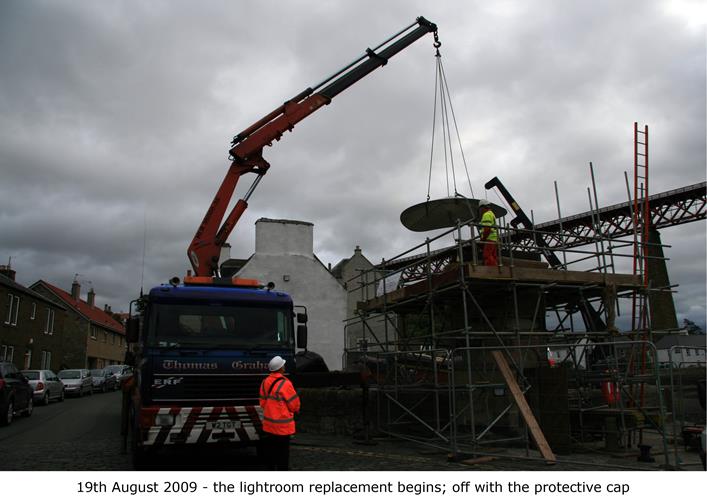
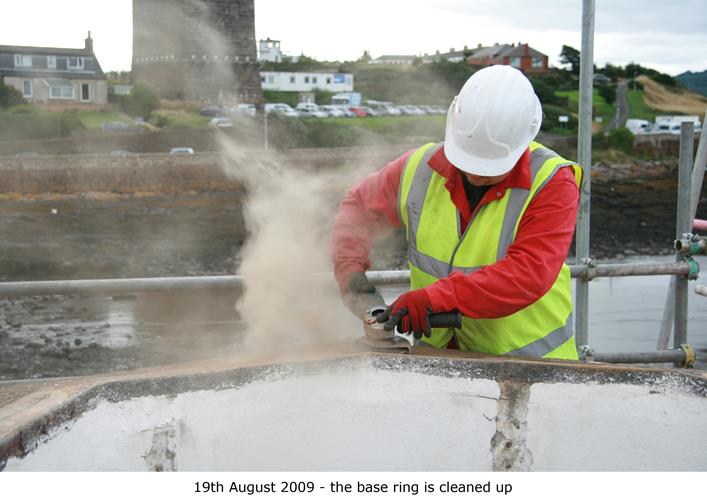
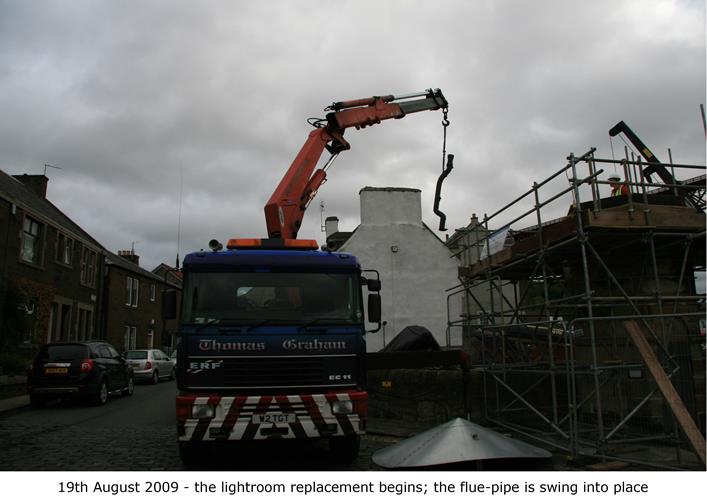
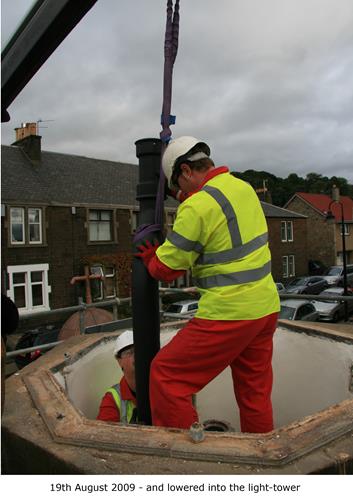
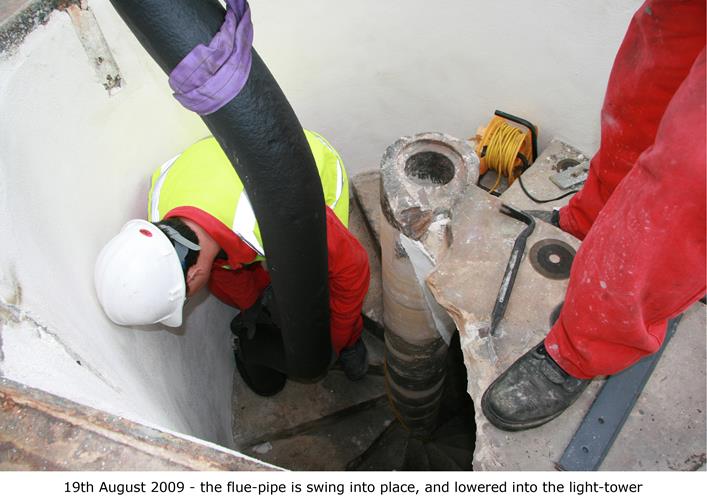
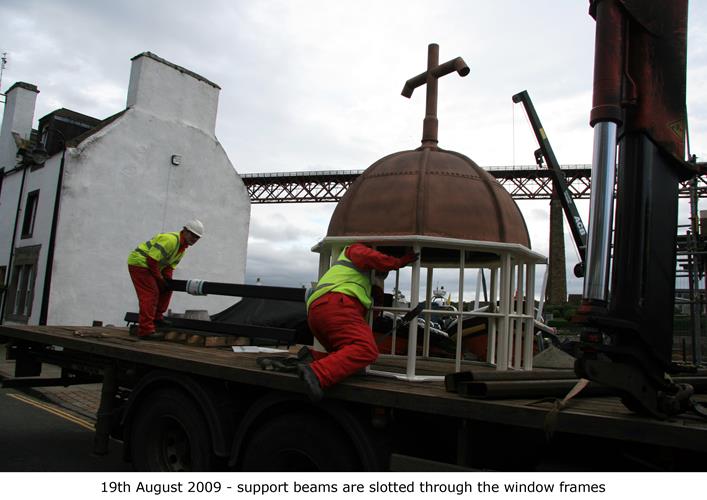
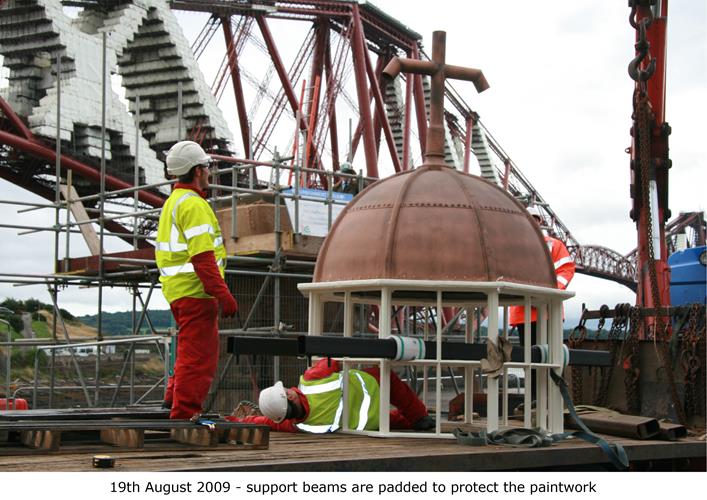
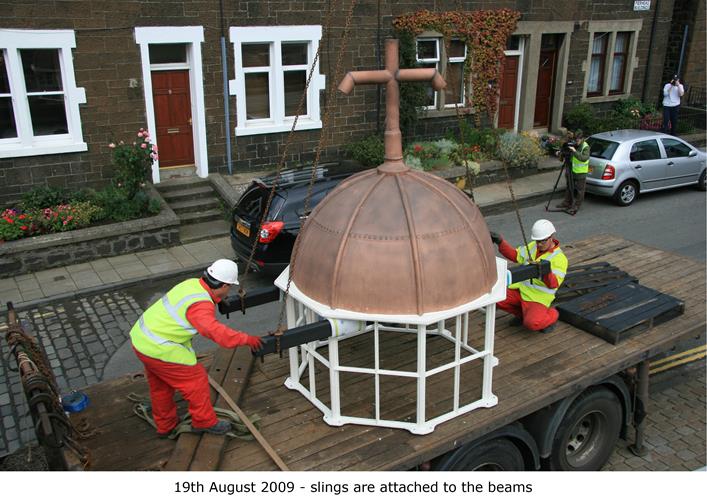
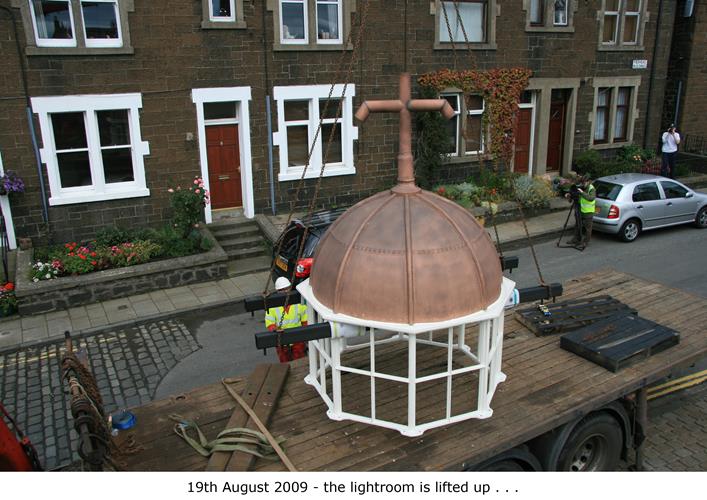

Stage 10b Replacing the light-tower
By August 2009, the tower was ready to receive the refurbished light-room.
(Hover your mouse over a thumbnail to see the full size image)
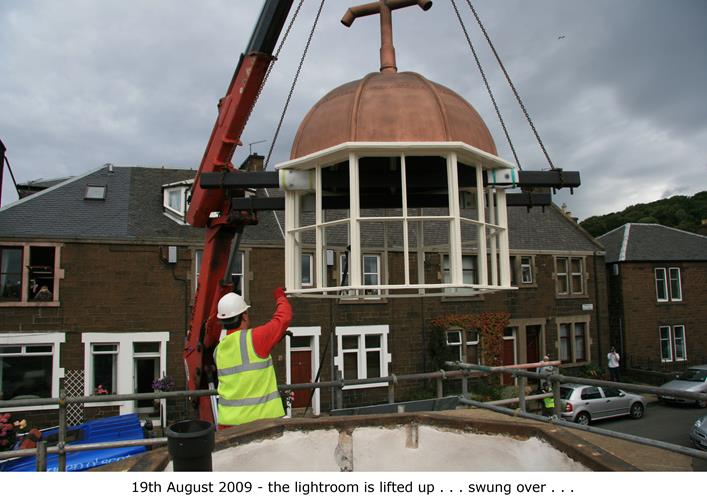
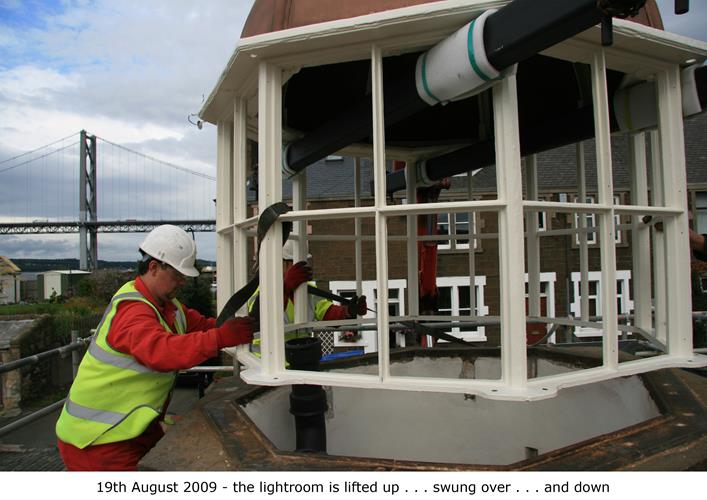
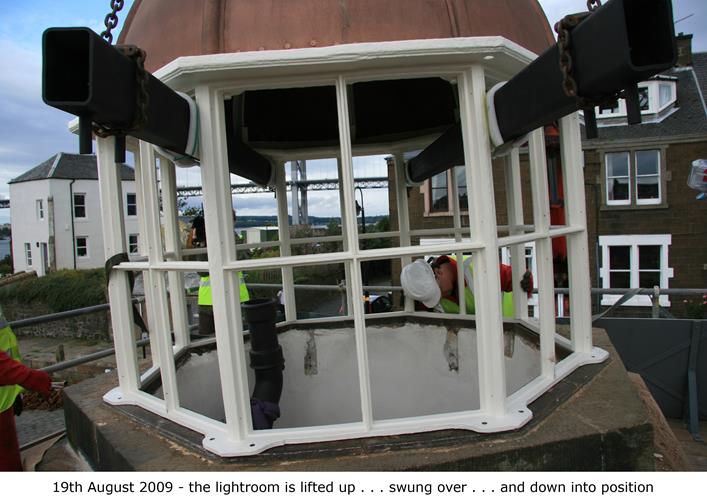
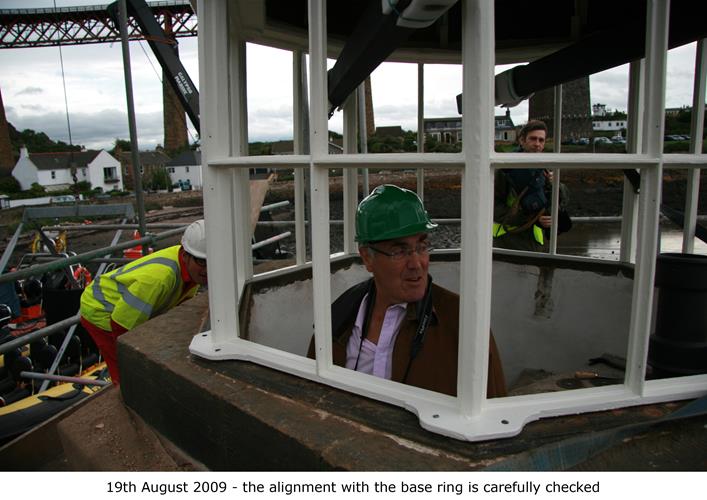
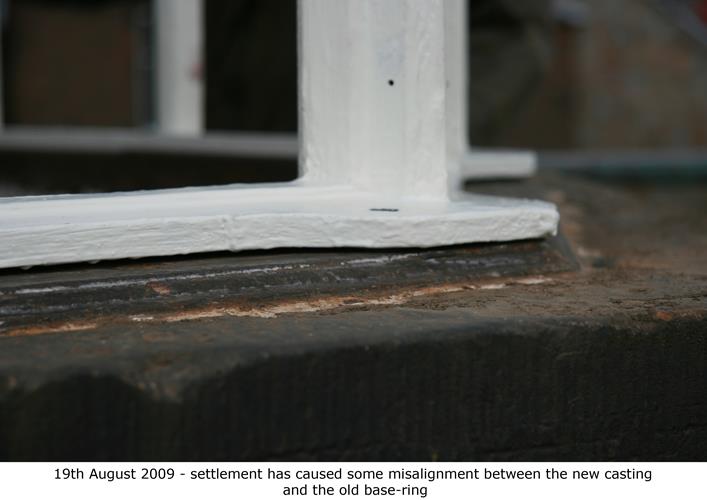
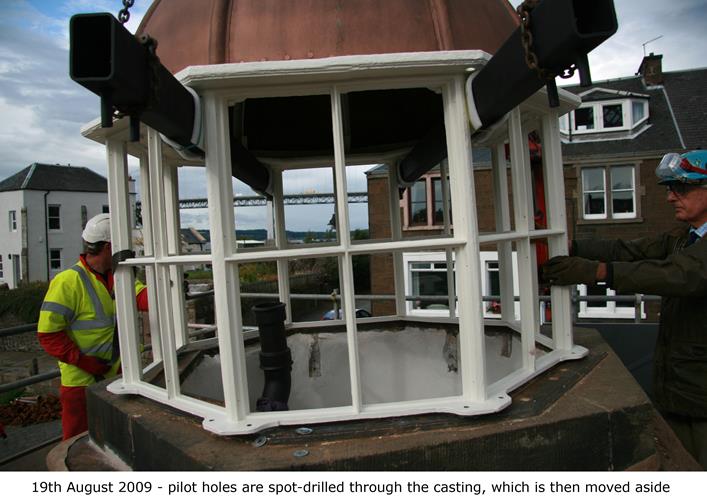

Stage 10c Replacing the light-tower
By August 2009, the tower was ready to receive the refurbished light-room.
(Hover your mouse over a thumbnail to see the full size image)
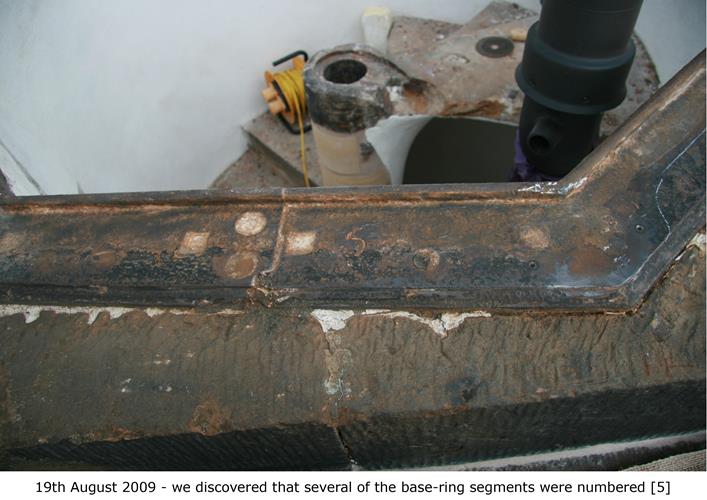
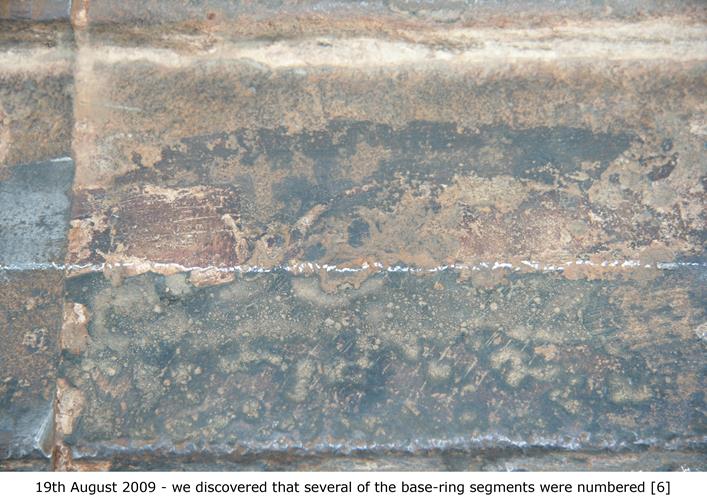
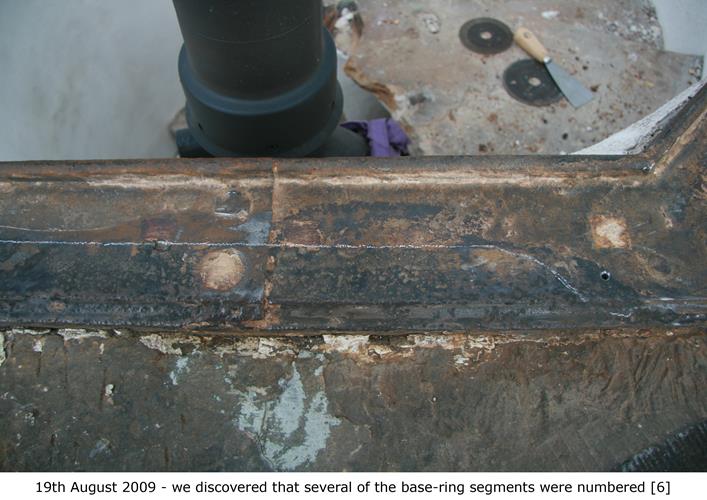
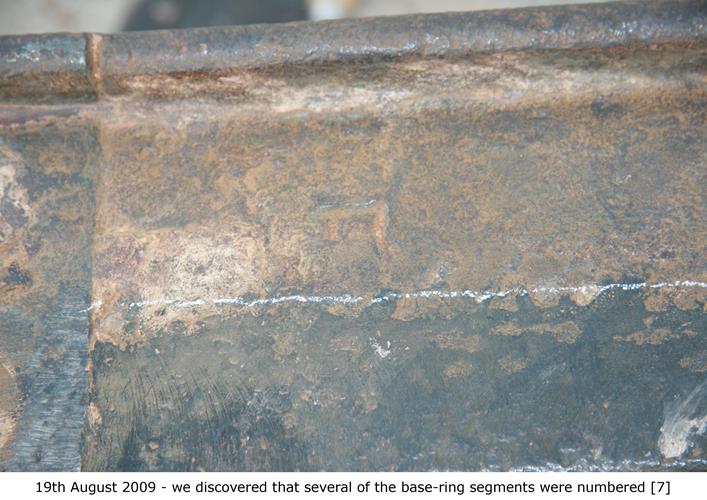
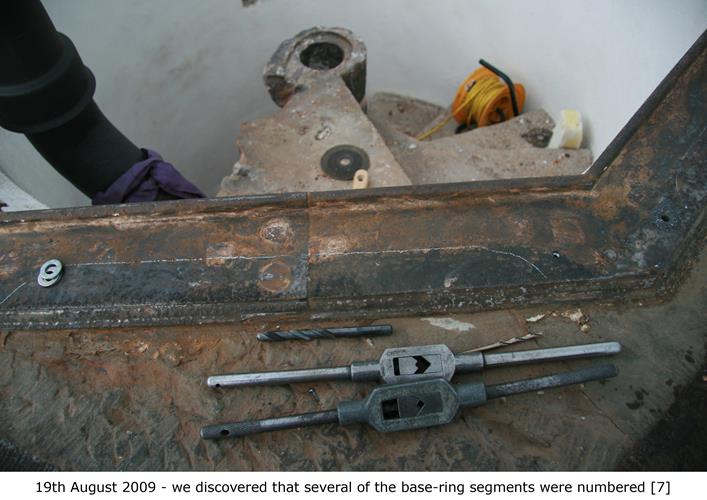
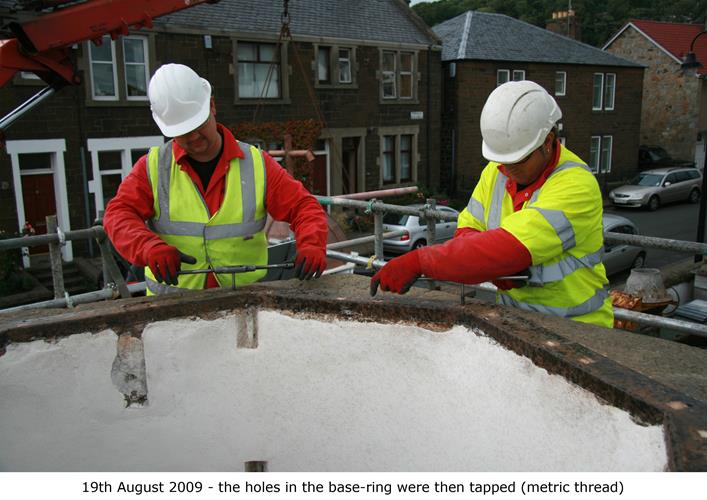
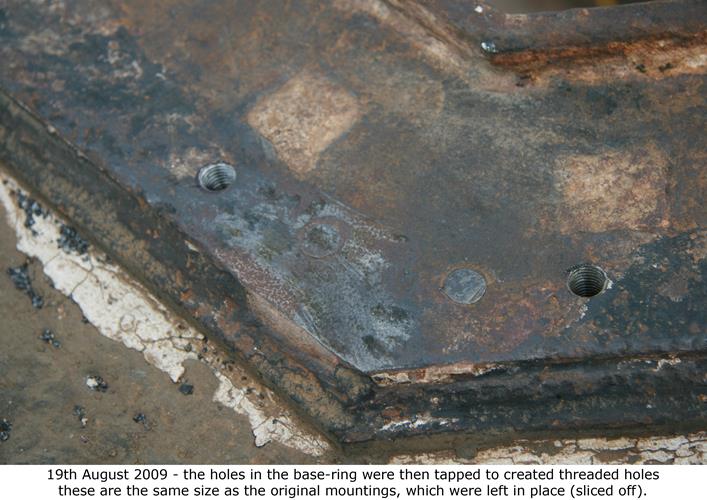
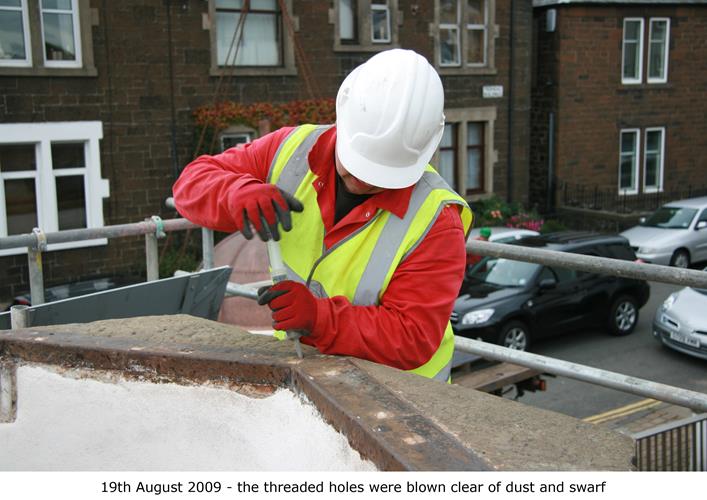

Stage 10d Replacing the light-tower
By August 2009, the tower was ready to receive the refurbished light-room.
(Hover your mouse over a thumbnail to see the full size image)
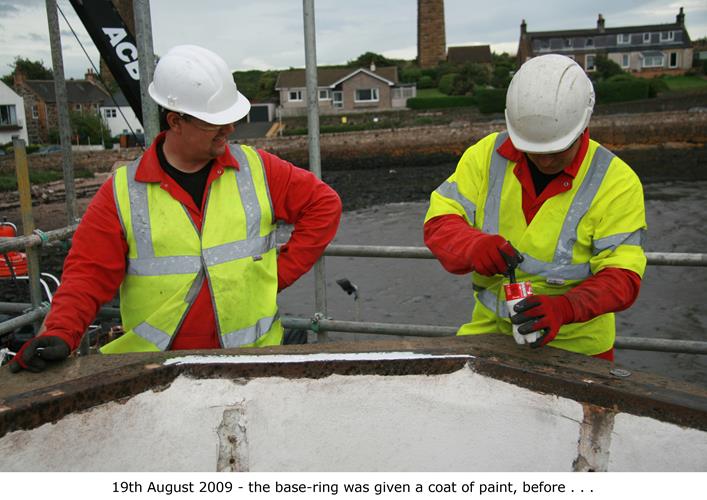
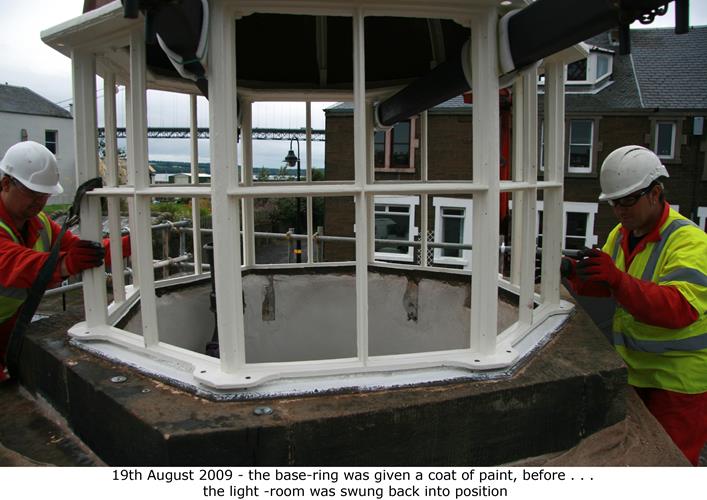
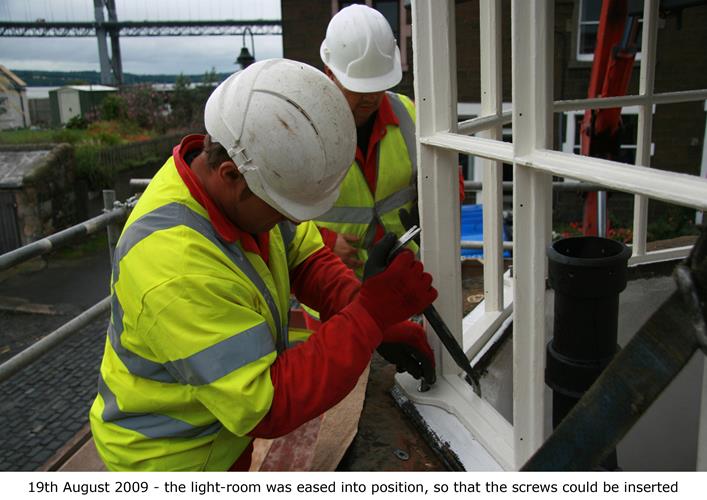
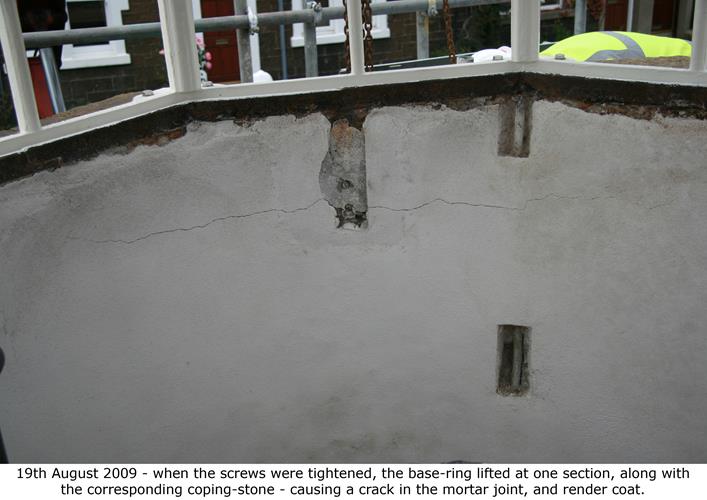
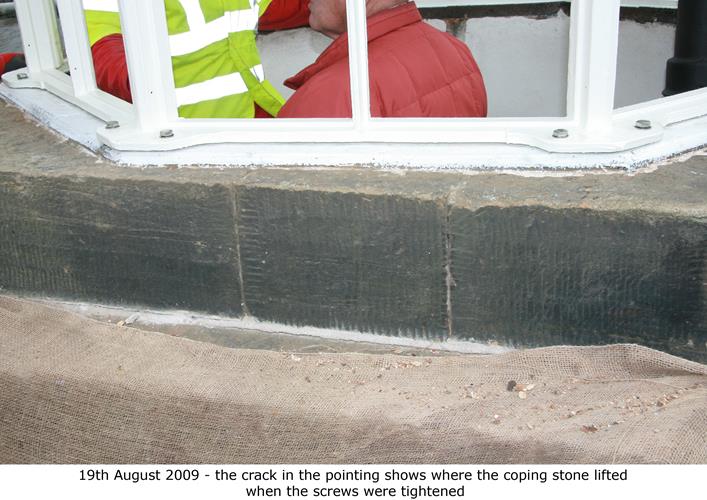
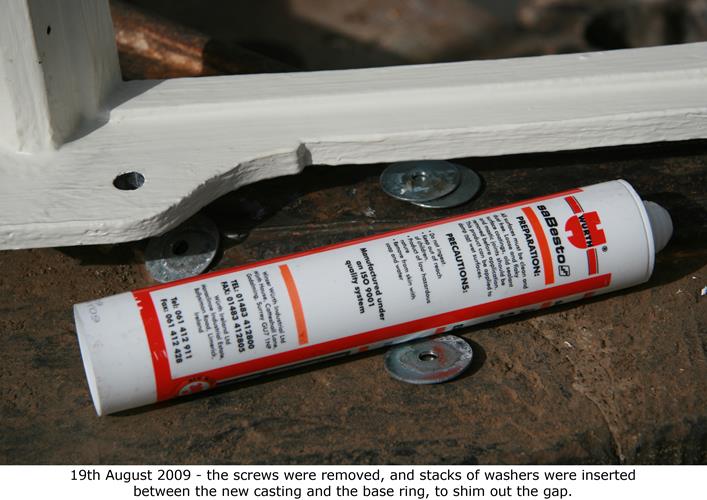
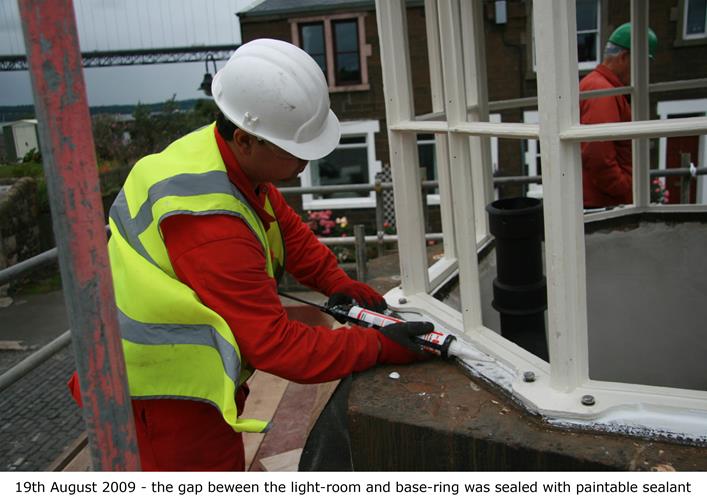
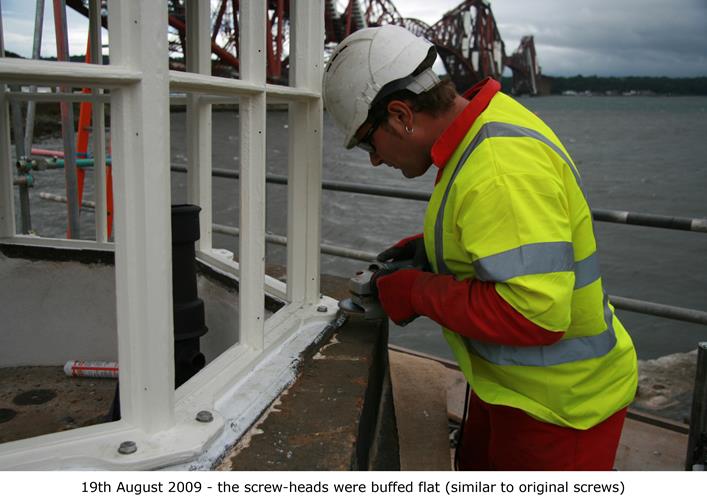
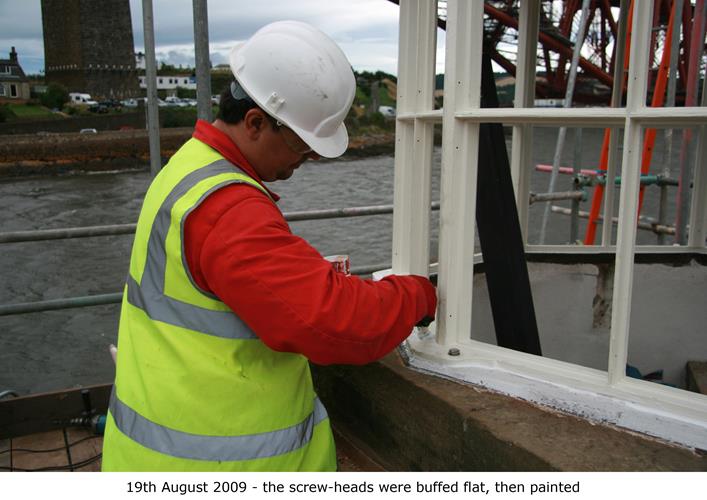

Stage 10e Replacing the light-tower
By August 2009, the tower was ready to receive the refurbished light-room.
(Hover your mouse over a thumbnail to see the full size image)
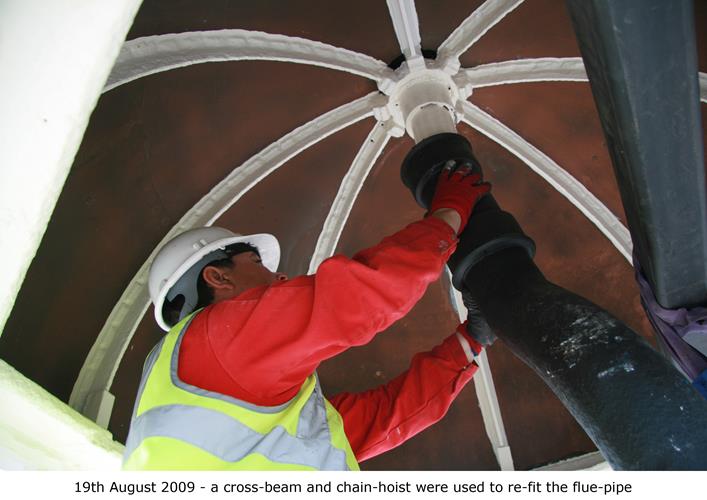
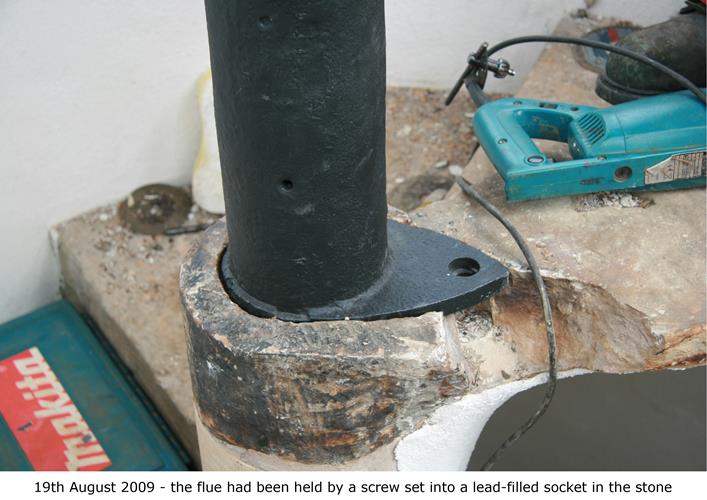
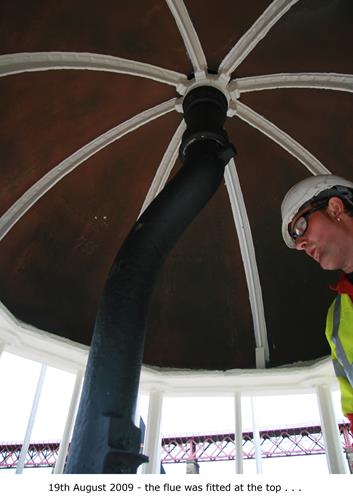
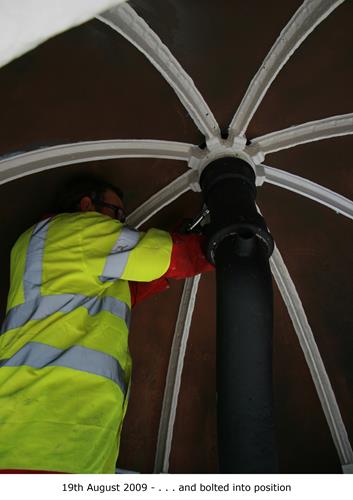
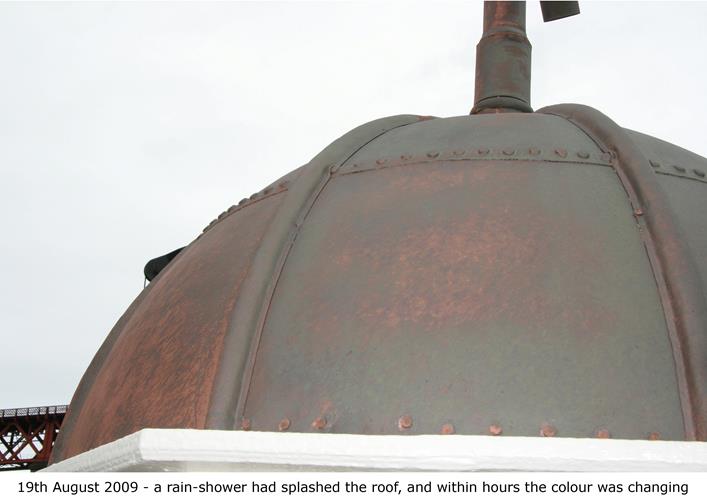
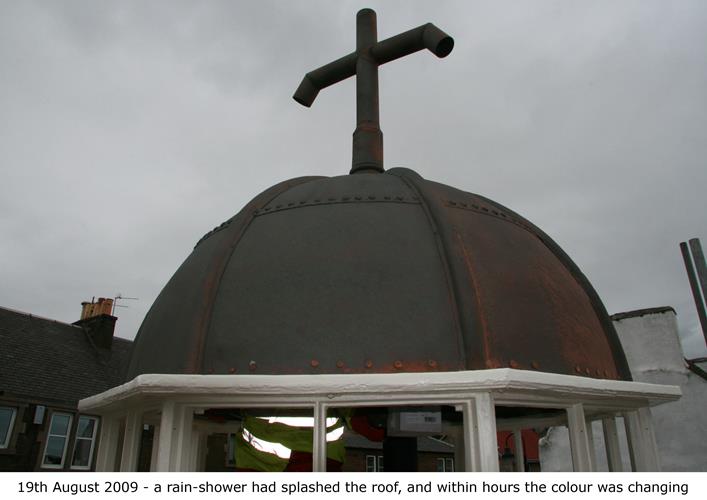
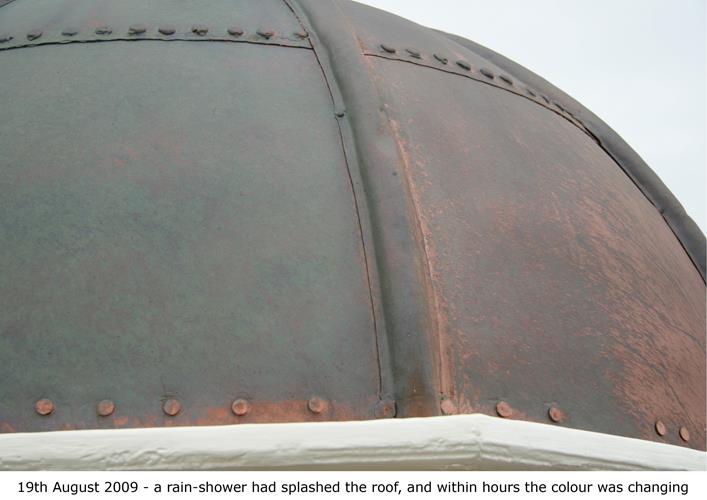
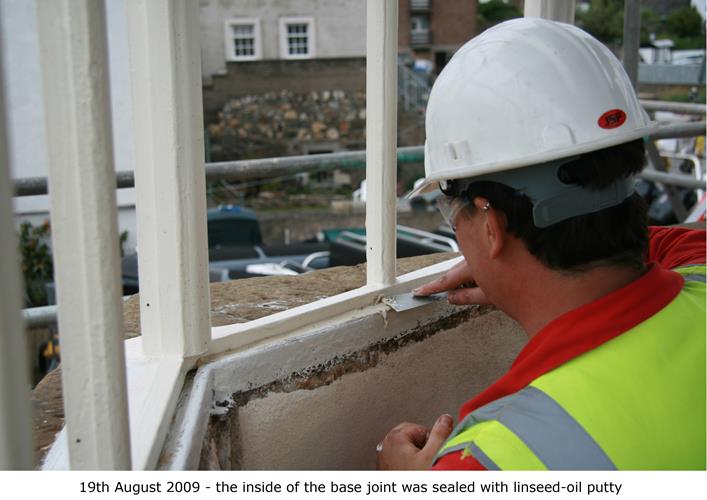
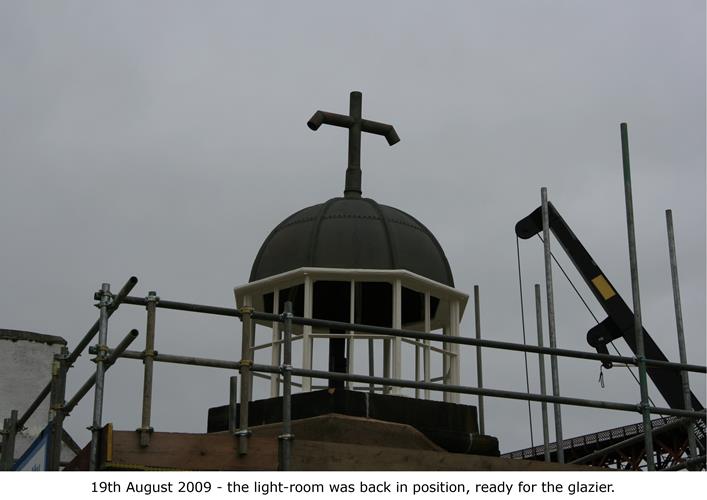

Stage 11 Reglazing the light-tower
Traditional putty, combined with a modern glass which looks like the original, but is tougher.
(Hover your mouse over a thumbnail to see the full size image)
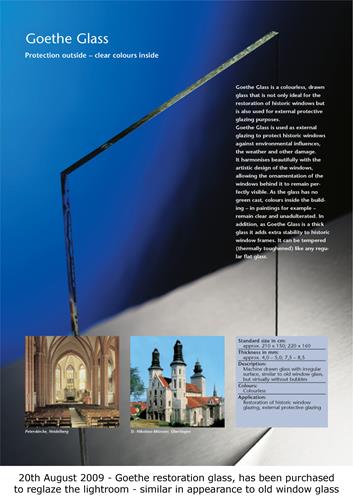
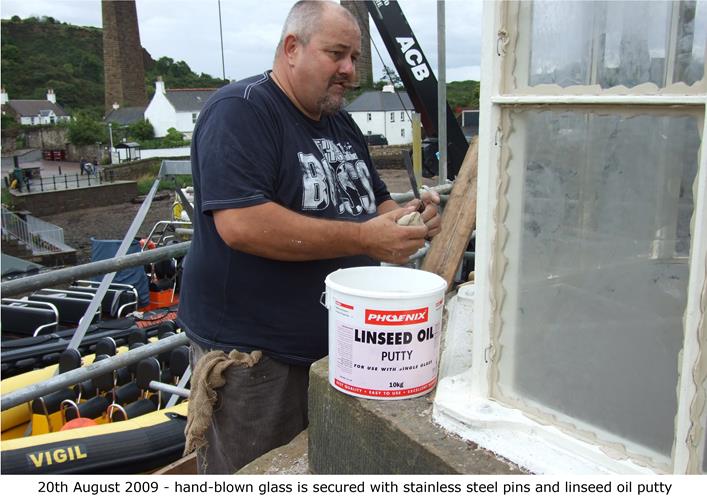
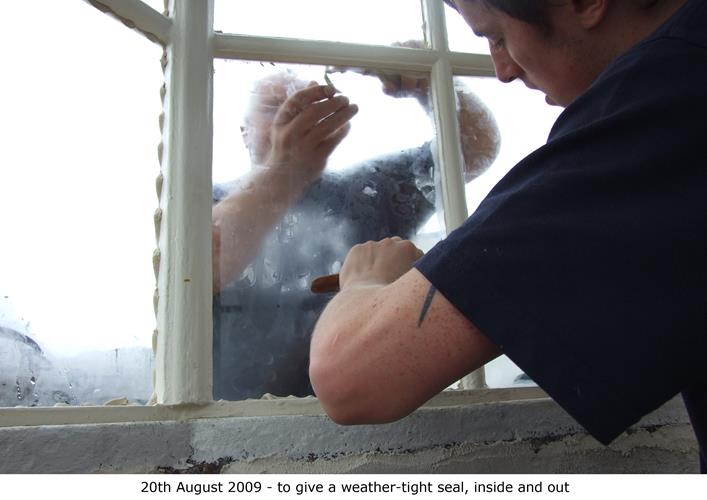
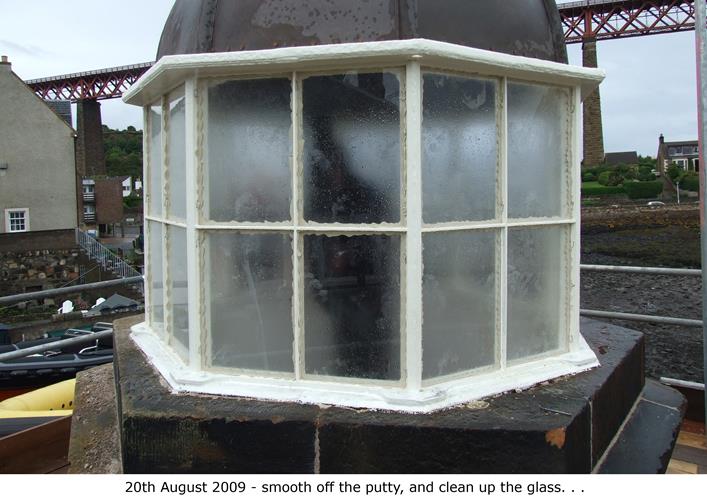

Stage 12 The scaffolding is removed to reveal the refurbished light tower
(Hover your mouse over a thumbnail to see the full size image)
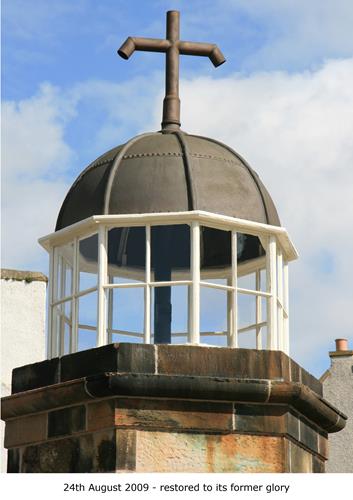
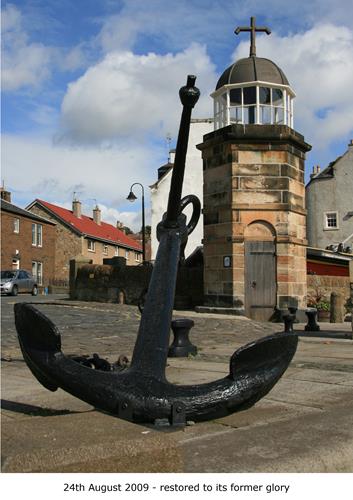

Stage 13a Creating a replica lamp
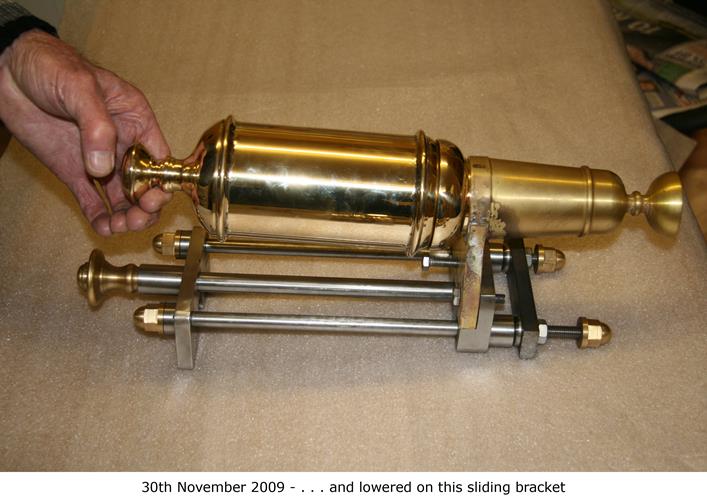
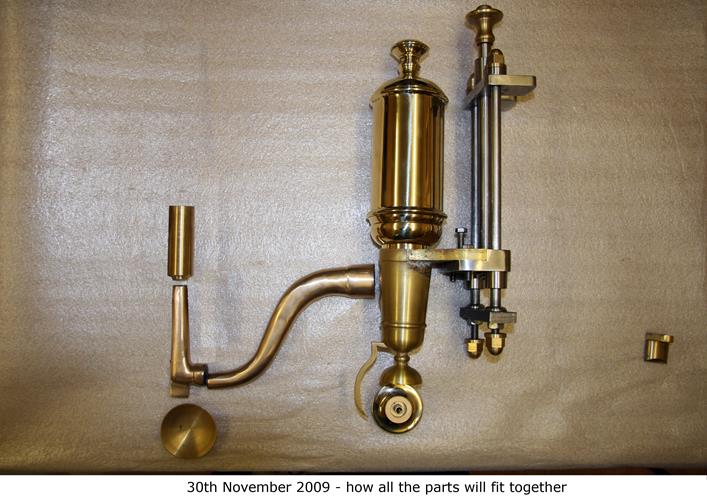
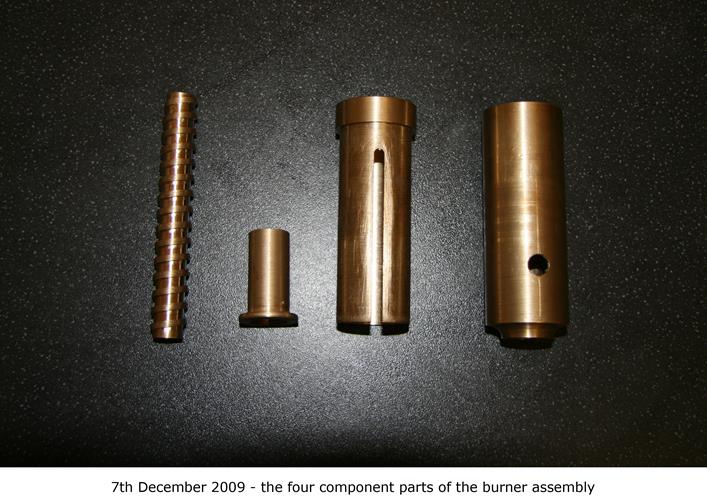
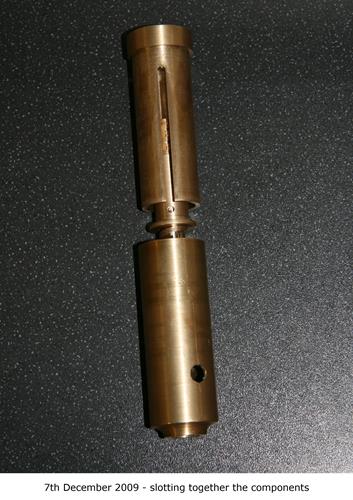
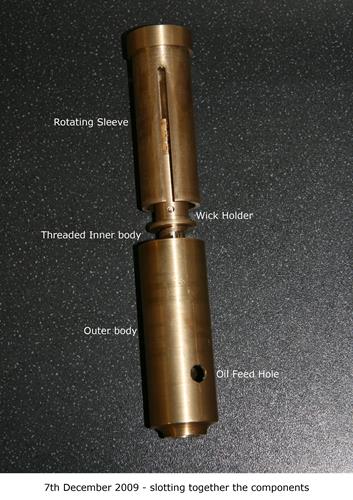
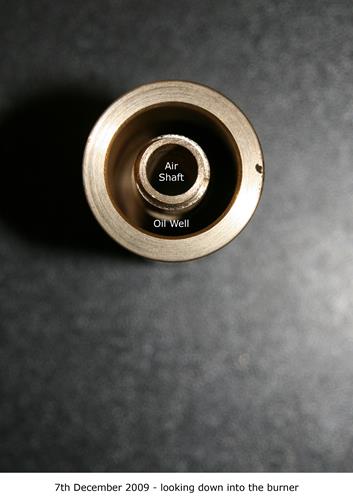
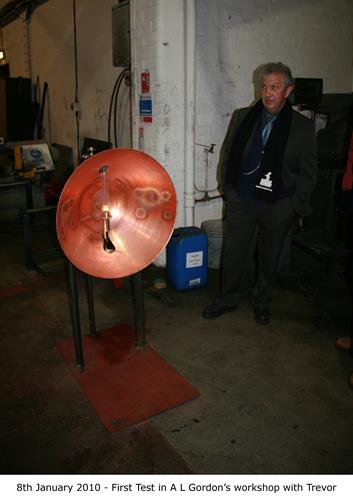
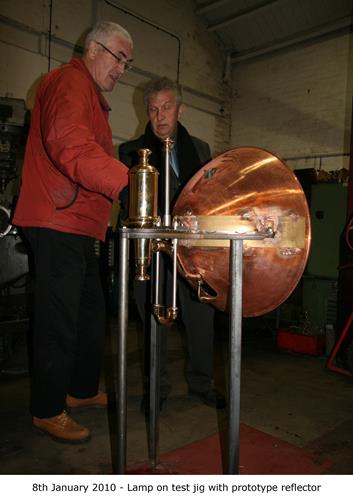
Measurements were take from an original lamp in National Museums Scotland. Prototypes and sketches were created for some of the internal parts of the mechanism, and gradually the parts were manufactured – cast, machined and assembled.
(Hover your mouse over a thumbnail to see the full size image)
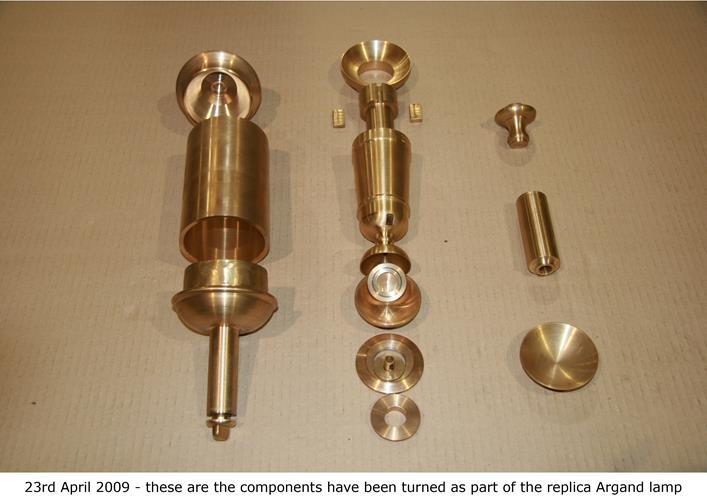
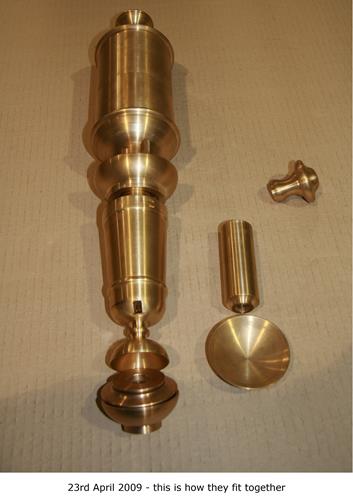
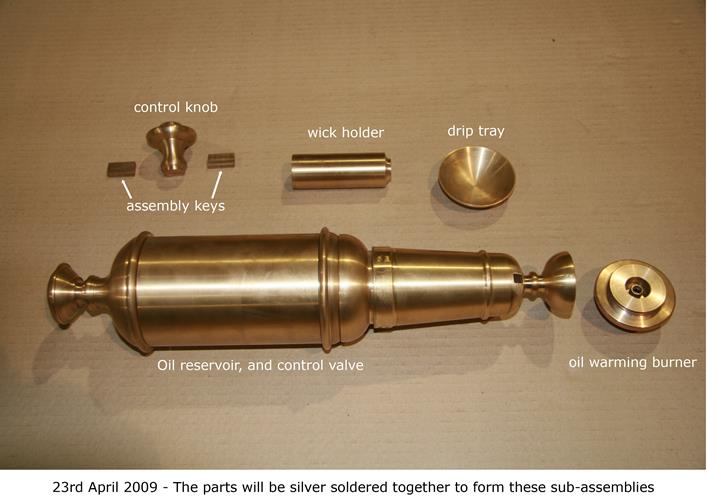
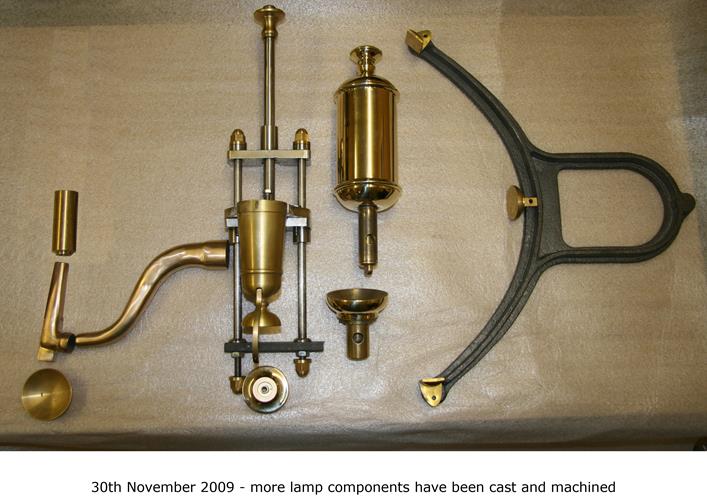
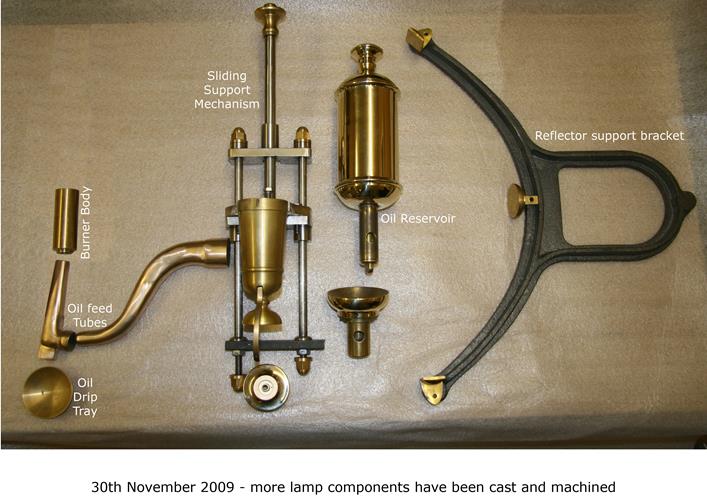
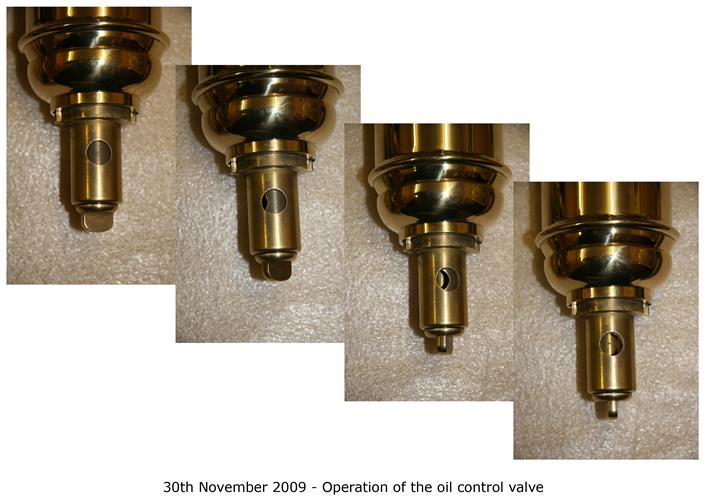
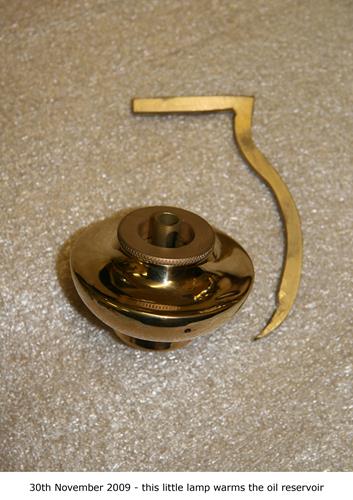


Stage 13b Creating a replica lamp
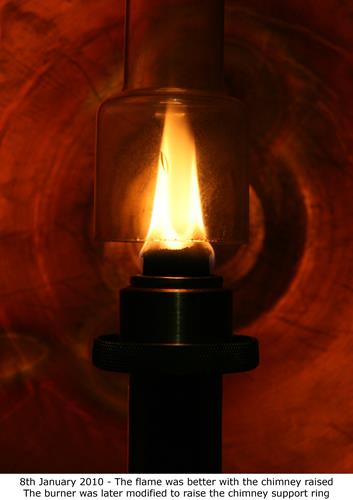
The design was tweaked to allow the use of commercially available wicks and the glass chimney.
We wanted to be be able to use the lamp, not have it locked in a glass cabinet!
(Hover your mouse over a thumbnail to see the full size image)

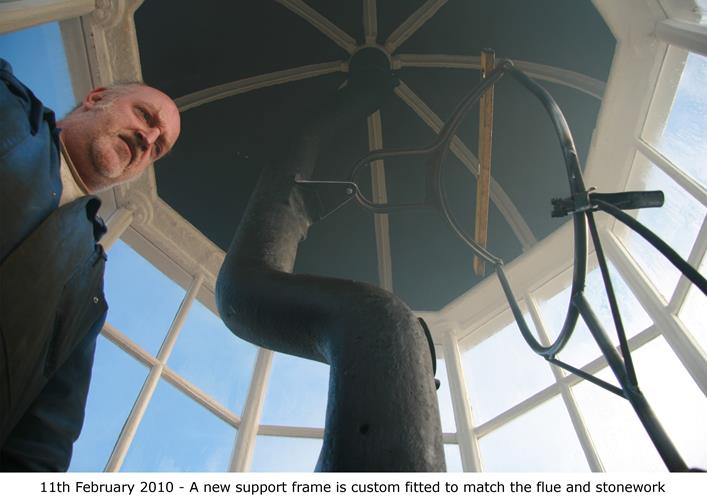
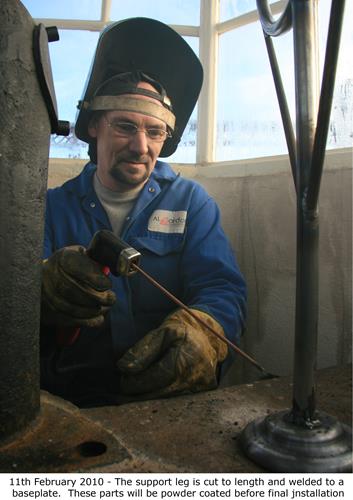
Stage 14a Installing the lamp in the tower
Final adjustments were needed to match the lamp framework to the support bracket on the flue, and the top step of the staircase – made tricky because the tower has developed a lean, buch like its more famous cousin in Pisa!
(Hover your mouse over a thumbnail to see the full size image)
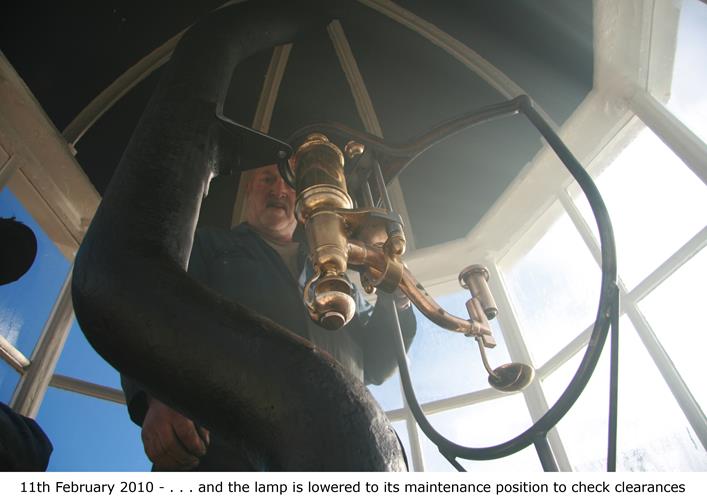
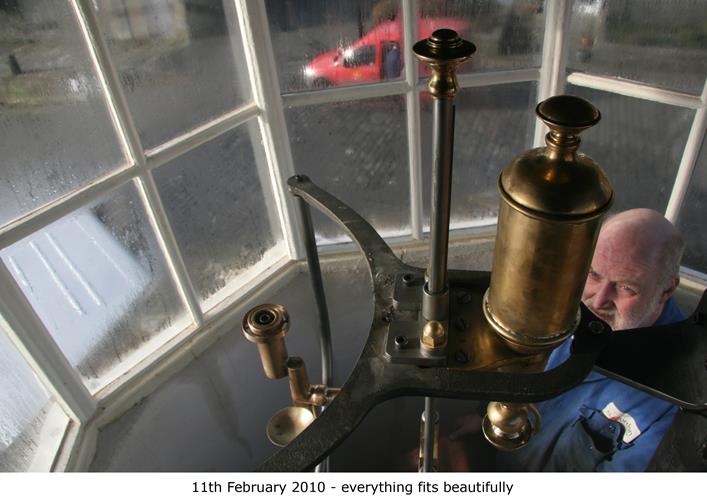
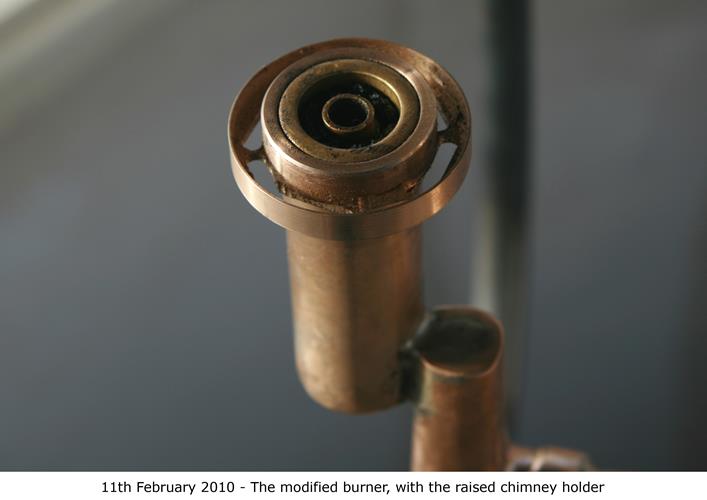
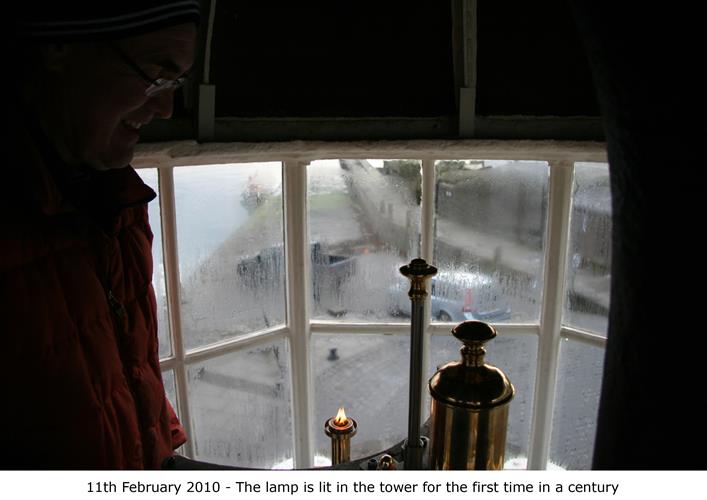
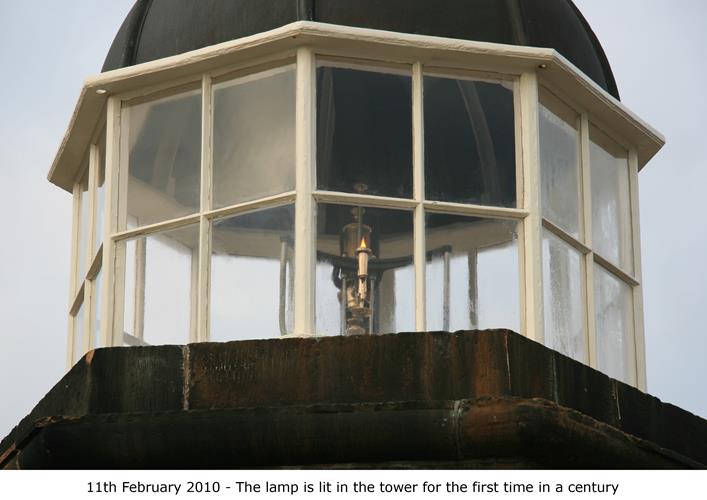

Stage 14b Fitting the chromed reflector
The last scene in the final act.
(Hover your mouse over a thumbnail to see the full size image)
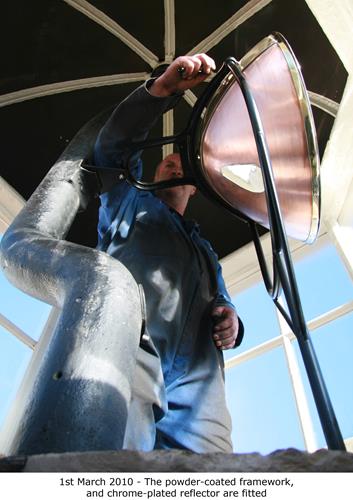
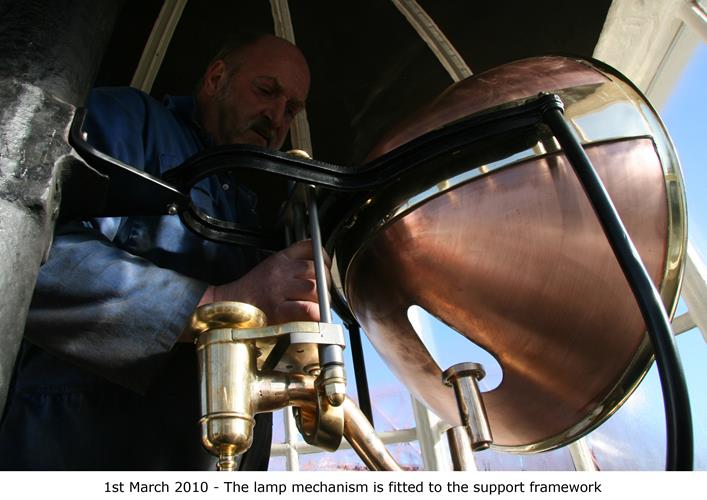
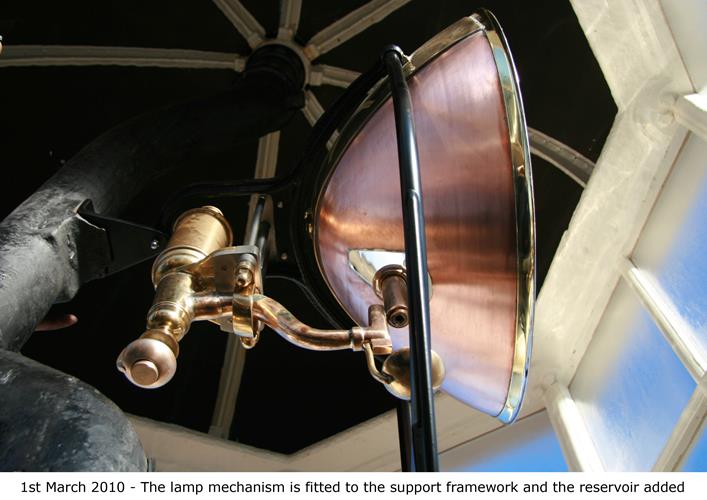
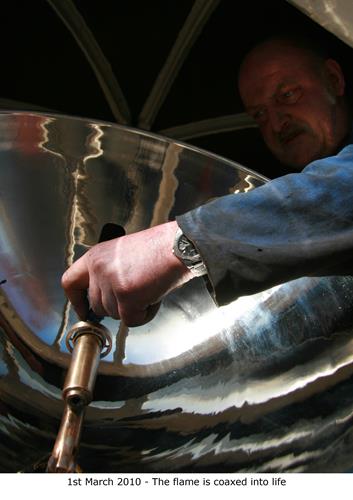
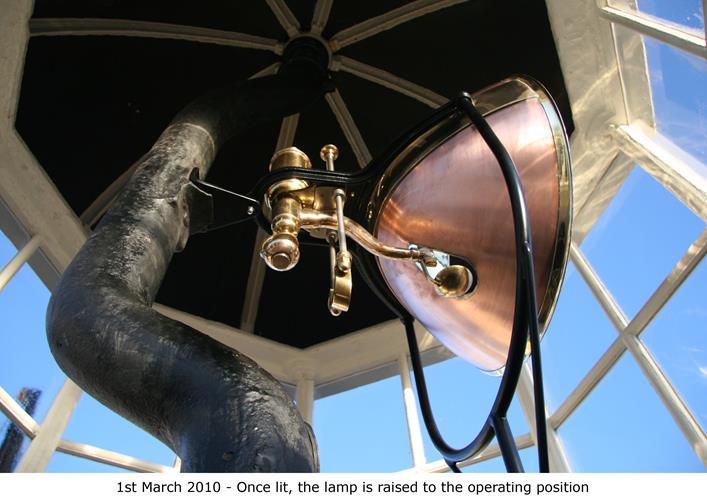
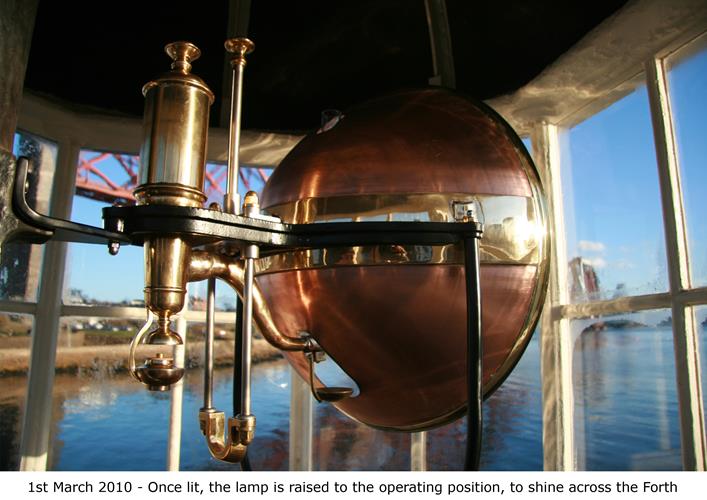
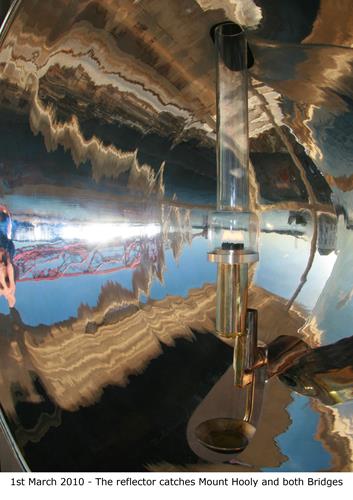
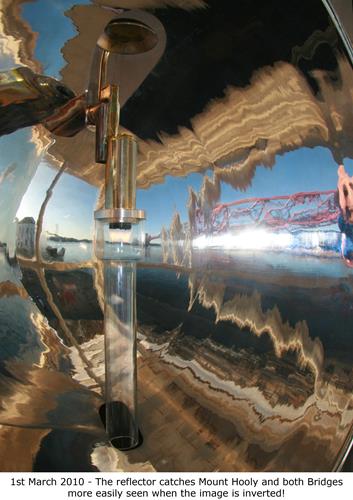
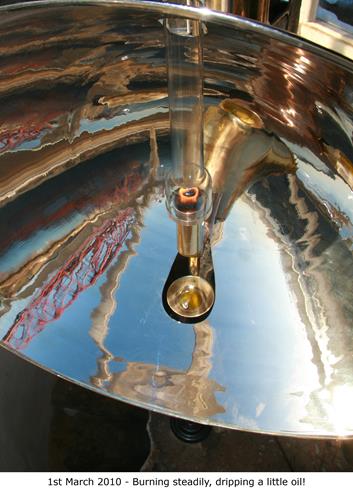
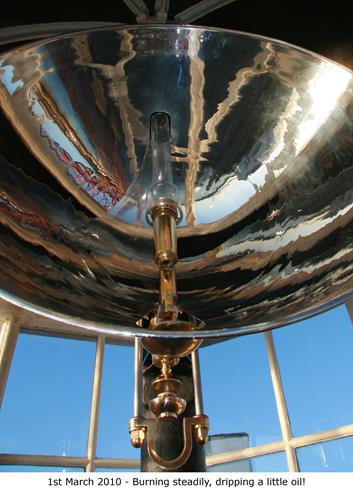

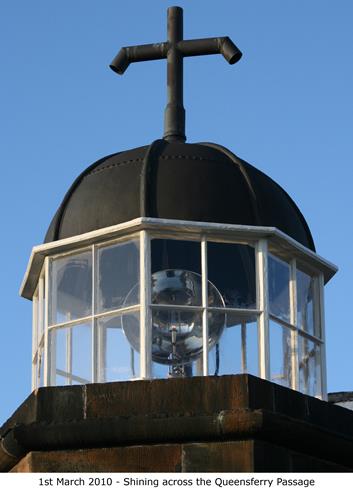
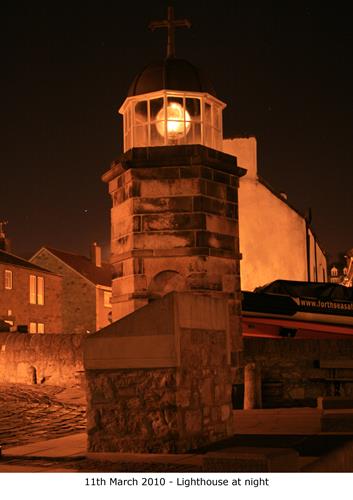
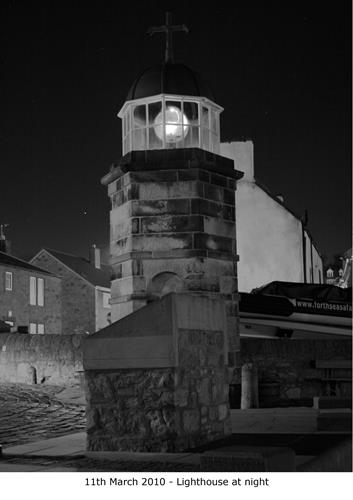
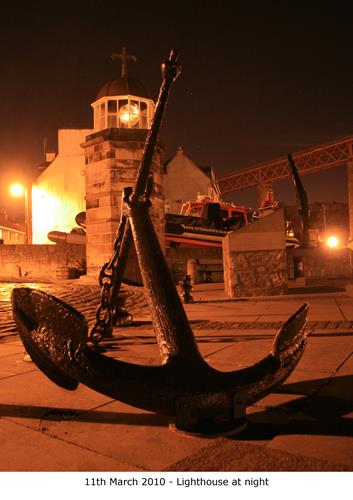
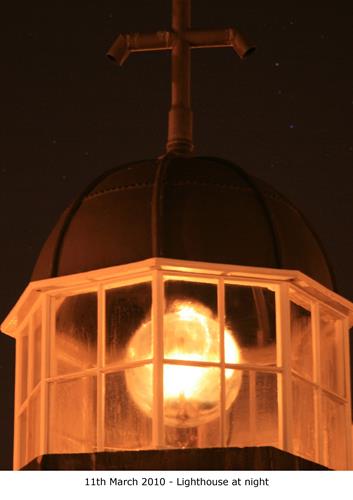
Stage 15 Shining across the Queensferry Passage
The culmination of a year-long restoration project.
(Hover your mouse over a thumbnail to see the full size image)

| < Beating the Chill | Δ Index | Official Opening > |